France
 Australia
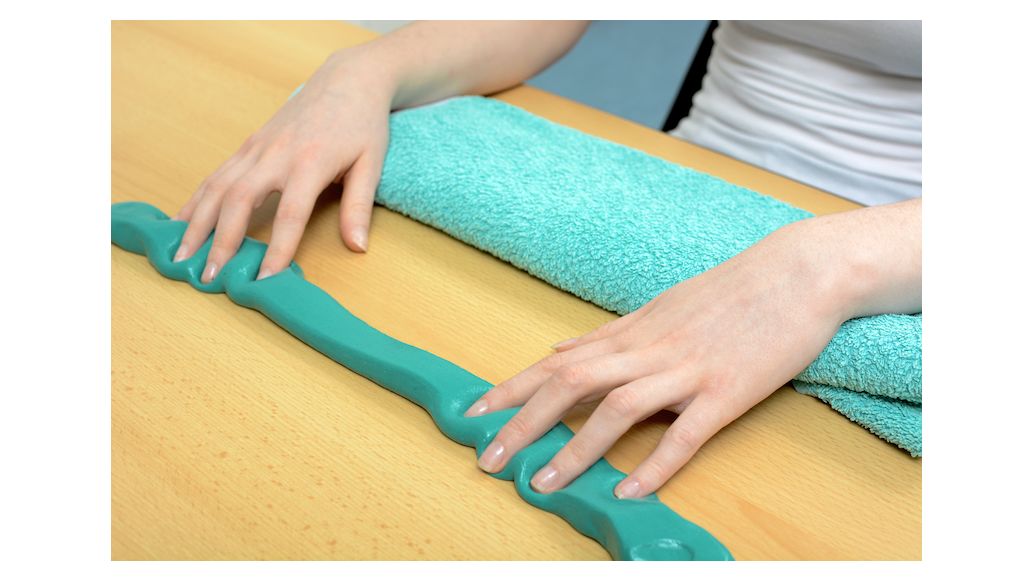
It’s time to find the therapy putty that’s best for you and your needs. Are you recovering from an injury and looking to rehabilitate finger and hand muscles? Post-surgery and want to repair and recover as quickly as possible? Or maybe just at home looking for a few new hand putty exercises? Well the good news is you’ve come to the right place, so let’s get started!
Find the Right Therapy Putty For You
Now hear me out, not all putty is the same. Yes, it’s an option to borrow some from your child or maybe even make it from scratch, but finding the formula best fit for your intended use will make all of the difference when exercising your fingers, hands, and forearm muscles.
There are a variety of different types of putty to choose from depending on your needs. Some are color-coded for easier visual identification of the increasing resistance levels, like our progressive putty. Others incorporate an antibacterial, antifungal, or antimicrobial agent, enabling it to resist the growth of odor-causing, destructive microbes, like this micro-fresh putty. Some putty changes color based on your effort and provide visual feedback of your outcome and effort.
Therapy Exercises
- Power Grip
Begin simple. For basic finger and hand strengthening grab your putty and squeeze all your fingers into it. This exercise is designed to not only improve finger and hand strength, but to relieve stress as well. - Finger Spread
Work your finger muscles and improve range of motion by spreading the putty like a pancake over your fingers and thumb, and then spreading your fingers apart. Repeat this motion on each hand. - Three Jaw Chuck Pinch
Roll your putty into a ball, hold in one hand and with the opposite hand pull the putty using your thumb, index, and middle fingers. Alternate hands and fingers for several exercise combinations. - Finger Extension
Begin by rolling and looping your putty over the end of your finger while it is bent. Try to straighten your finger. Repeat this motion, alternating fingers to exercise each individual finger muscle. - Thumb Extension
Just like the previous exercise, but alternate between each thumb. Roll and loop the putty at the end of your thumb while it is bent, then straighten your thumb by pulling it upward.
Tips
- Start slow and don’t push it. If you are recovering from an injury or operation, focus on repairing your muscles and strength slowly and thoroughly.
- Too easy? Use a firmer, denser putty with a higher resistance level to increase the intensity of your exercise.
- Don’t stick to just one type of putty. Try a variety of putty types to find the best fit for your intended use and needs.
Medical Disclaimer: The information provided on this site, including text, graphics, images and other material, are for informational purposes only and are not intended to substitute for professional medical advice, diagnosis or treatment. Always seek the advice of your physician or other healthcare professional with any questions or concerns you may have regarding your condition.