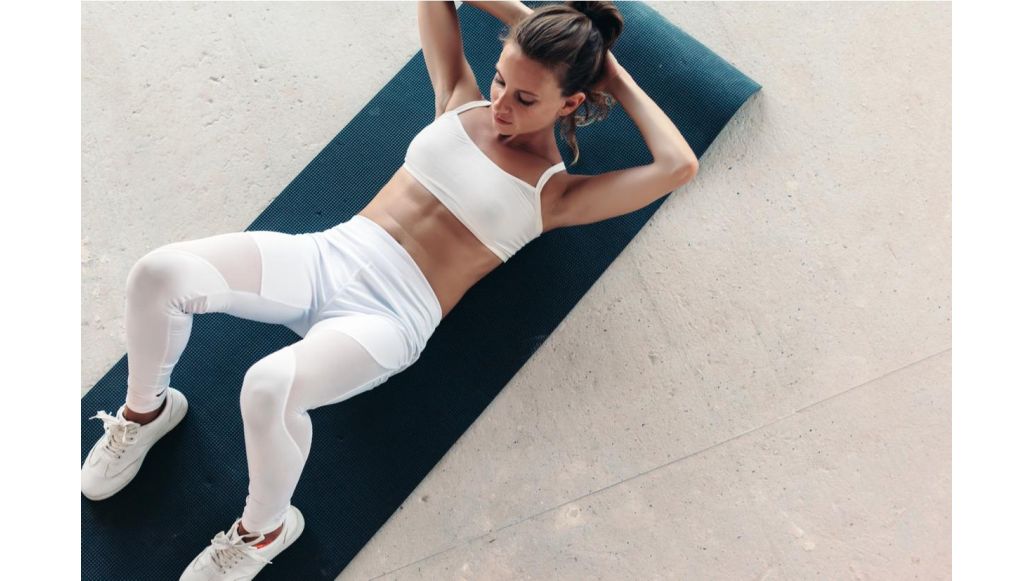
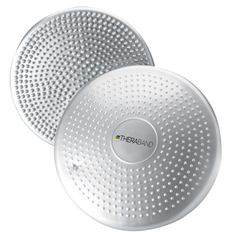
Feeling a little bored of your exercise routine? When you use the same amount of weights all the time, your muscles will hit a plateau and make for a less challenging workout. By increasing the intensity of the exercise, your muscles will break down and inspire more growth. Incorporating heavier resistance bands and more challenging balance discs in your exercise routine can help add a load and intensity that may improve your strength.
Learn more about how you can replace light resistance bands and stability trainers with more challenging strength training and balance products!
TheraBand High Resistance Bands
TheraBand CLX Resistance Bands


Increase Your Resistance


TheraBand High Resistance Bands
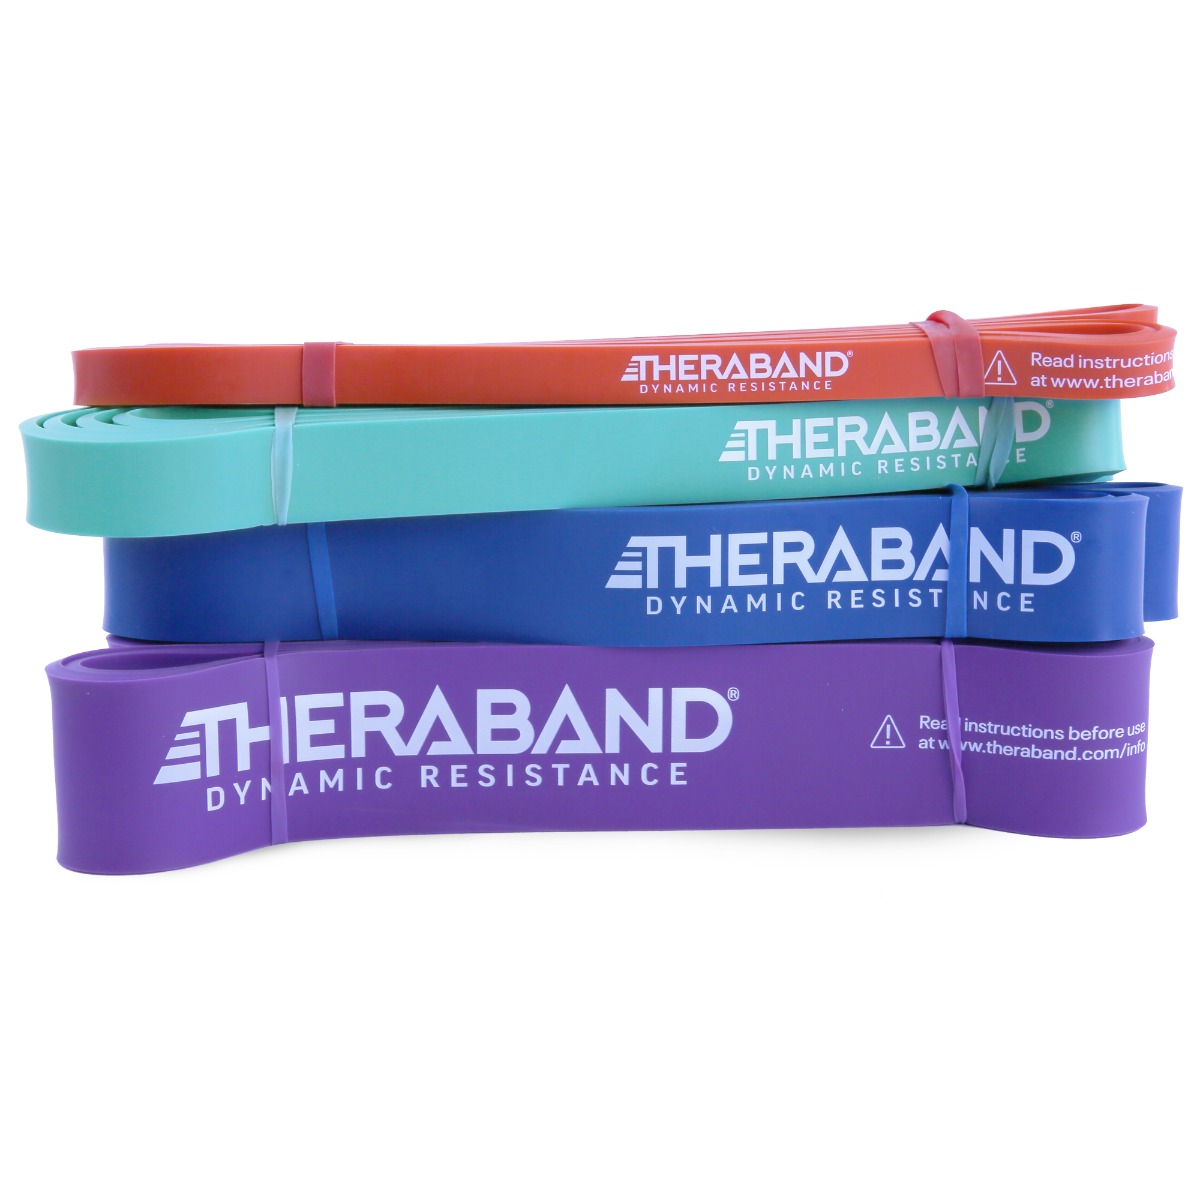

Bands add that bit of extra resistance to an exercise in a way that dumbbells can't. With resistance bands, the tension is constant through the entire movement and targets different muscle groups. Adding a heavy resistance band is particularly beneficial for lower body workouts when it comes to properly engaging the intended muscle groups.
Heavy resistance bands can also help increase joint mobility, strengthen your muscles, and release tension in the body. Through deep-force muscle pliability, you’ll have prepared both your muscles and nervous system for improved performance in a workout. After the workout, the pliability helps clear lactic acid from the muscles. If you’re looking for a greater challenge during your workout, swap out your standard resistance bands for TheraBand High Resistance Bands!

Find the Resistance Level Right for You!
TheraBand High Resistance Bands provide new levels of resistance between 15 to 50 pounds for more advanced rehabilitation and recovery. Estimated resistance levels are based on pull forces to stretch band between 100% and 200% elongation.
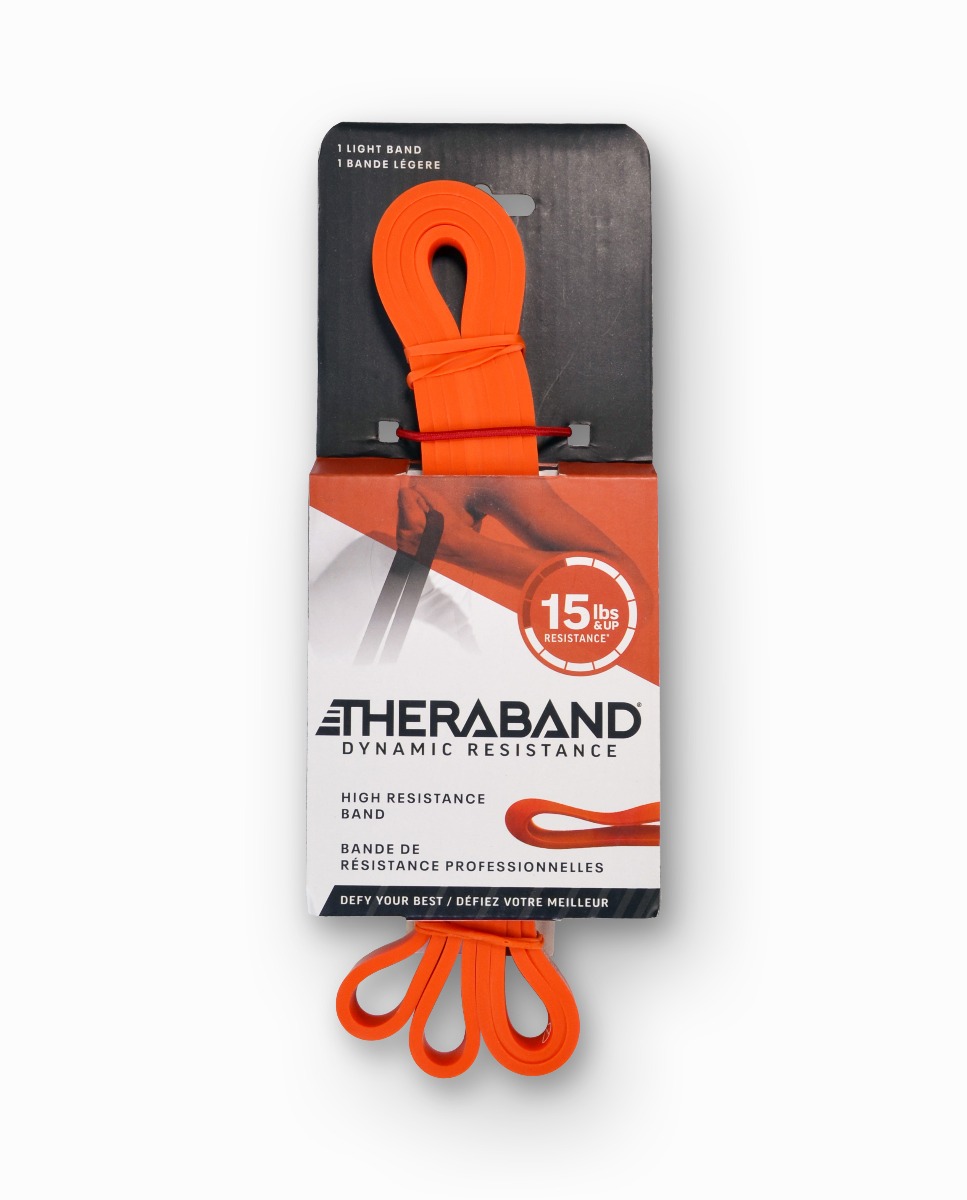

The light resistance level gives 15 pounds of resistance at 100% elongation and 20 pounds of resistance at 200% elongation
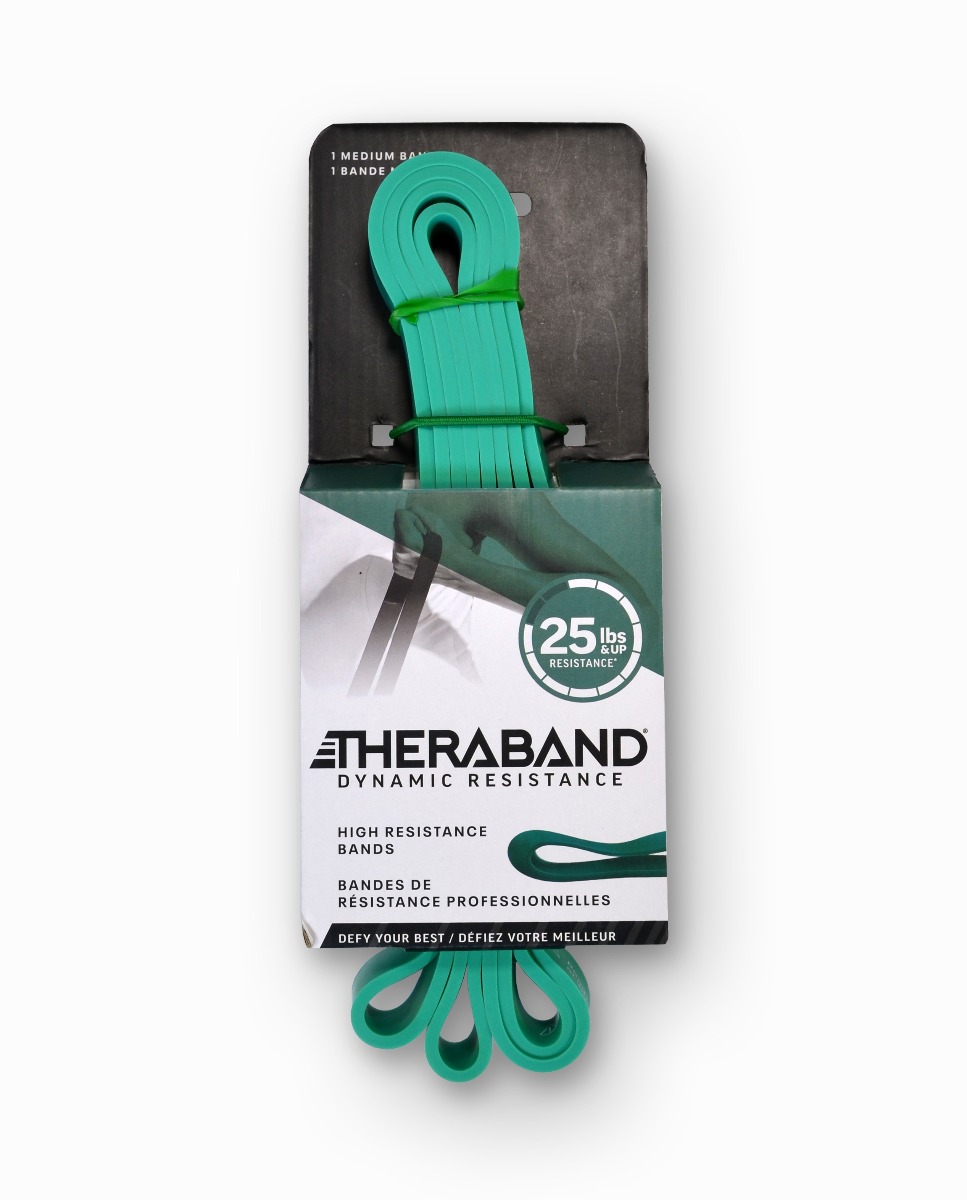

The medium resistance level gives 25 pounds of resistance at 100% elongation and 35 pounds of resistance at 200% elongation
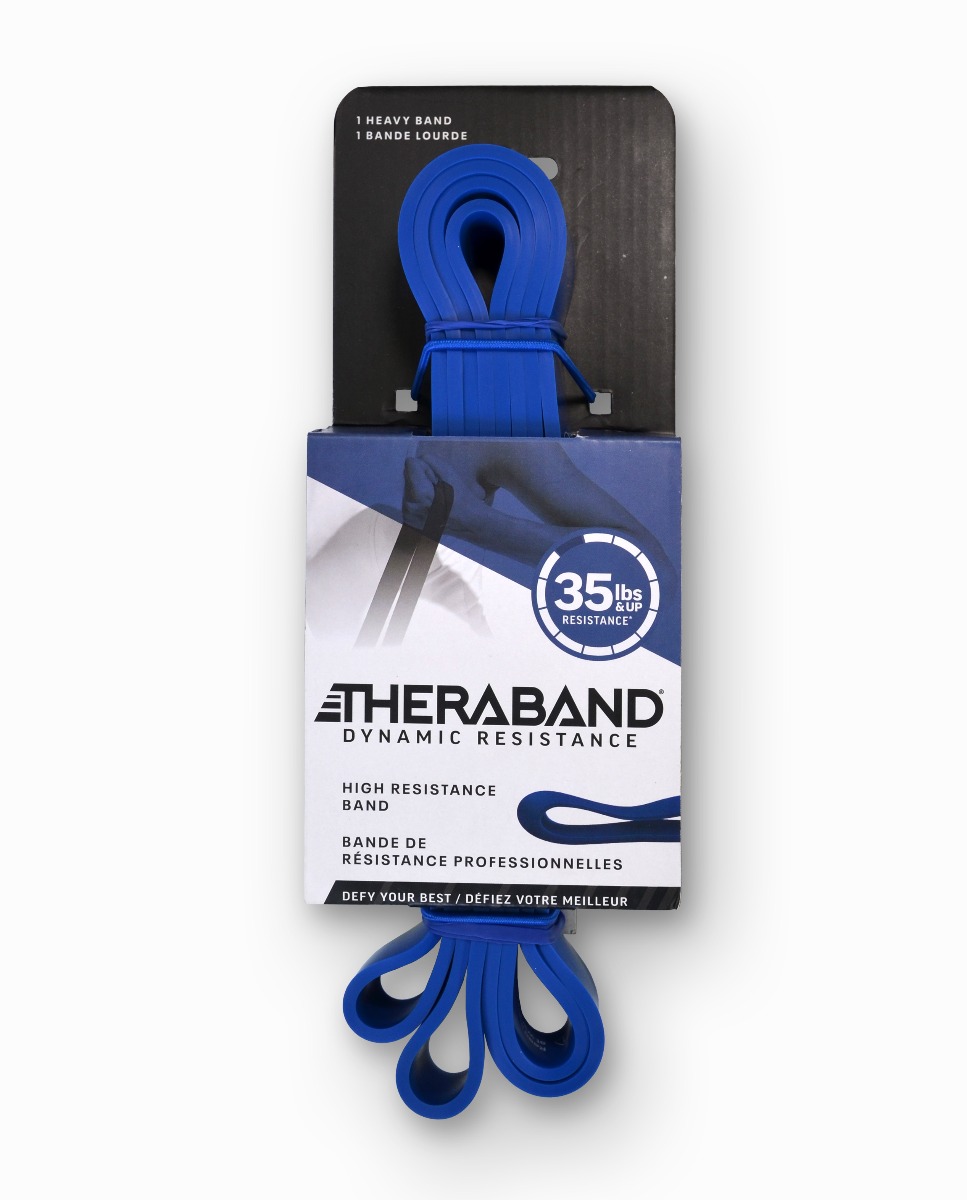

The heavy resistance level gives 35 pounds of resistance at 100% elongation and 50 pounds of resistance at 200% elongation
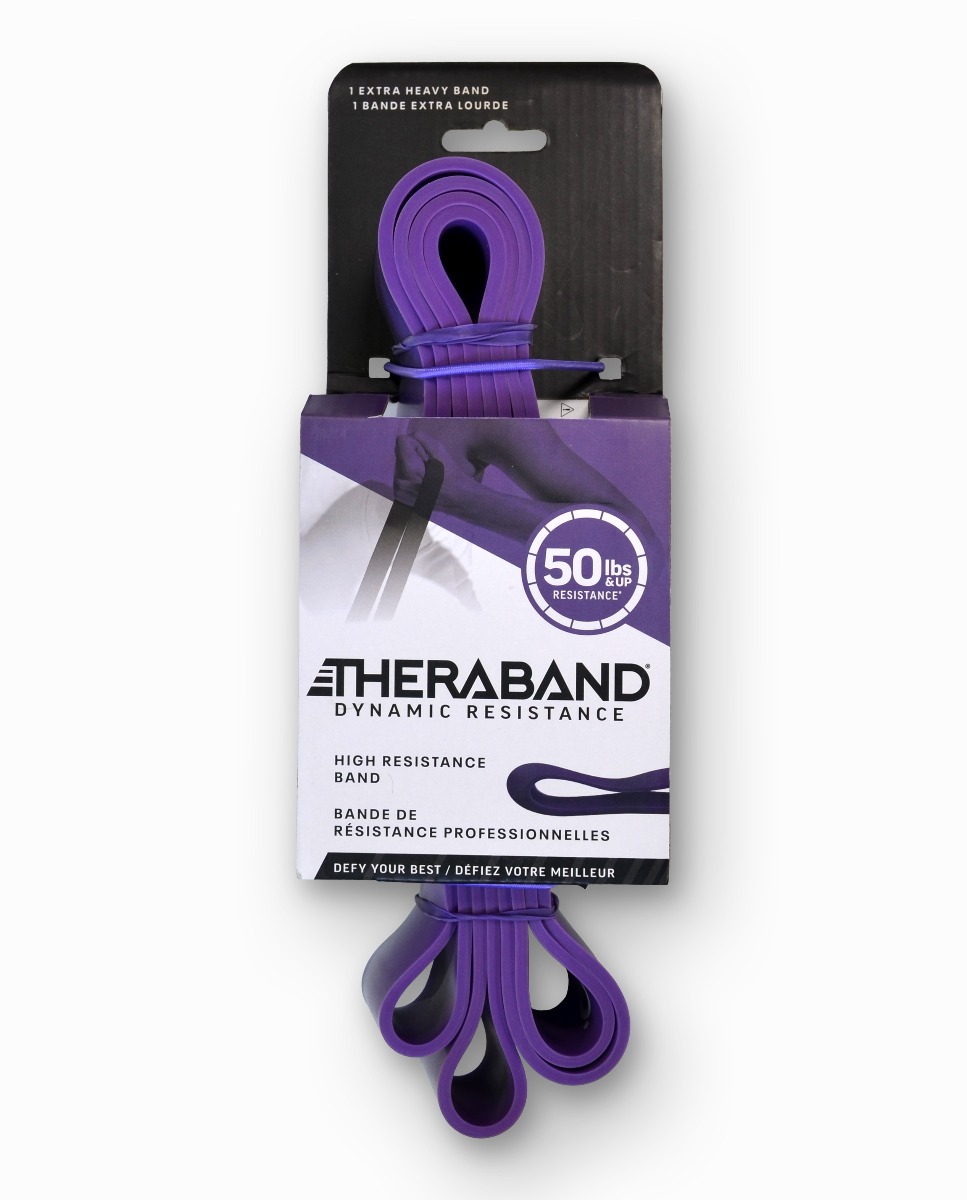

The x-heavy resistance level gives 50 pounds of resistance at 100% elongation and 80 pounds of resistance at 200% elongation
Once you’ve picked the resistance level right for you, let’s get started with a few exercises!
6 High Resistance Band Exercises
When purchasing high resistance bands, determine if you will use the bands as your primary method of strength training, as a rehabilitative tool after an injury or surgery, or as a tool to prevent potential injury. Using the recommended exercises below, you should soon begin to see improvement in strength, balance, coordination, and muscle tone. Resistance training with these high resistance bands is more beneficial for experienced users.
Front Squats


Step 1: Place band under both feet
Step 2: Hold the band in front with both hands and elbows up
Step 3: Starting in standing position, push hips back and lower your body into a squat
Step 4: Push from squat to standing position
Overhead Press
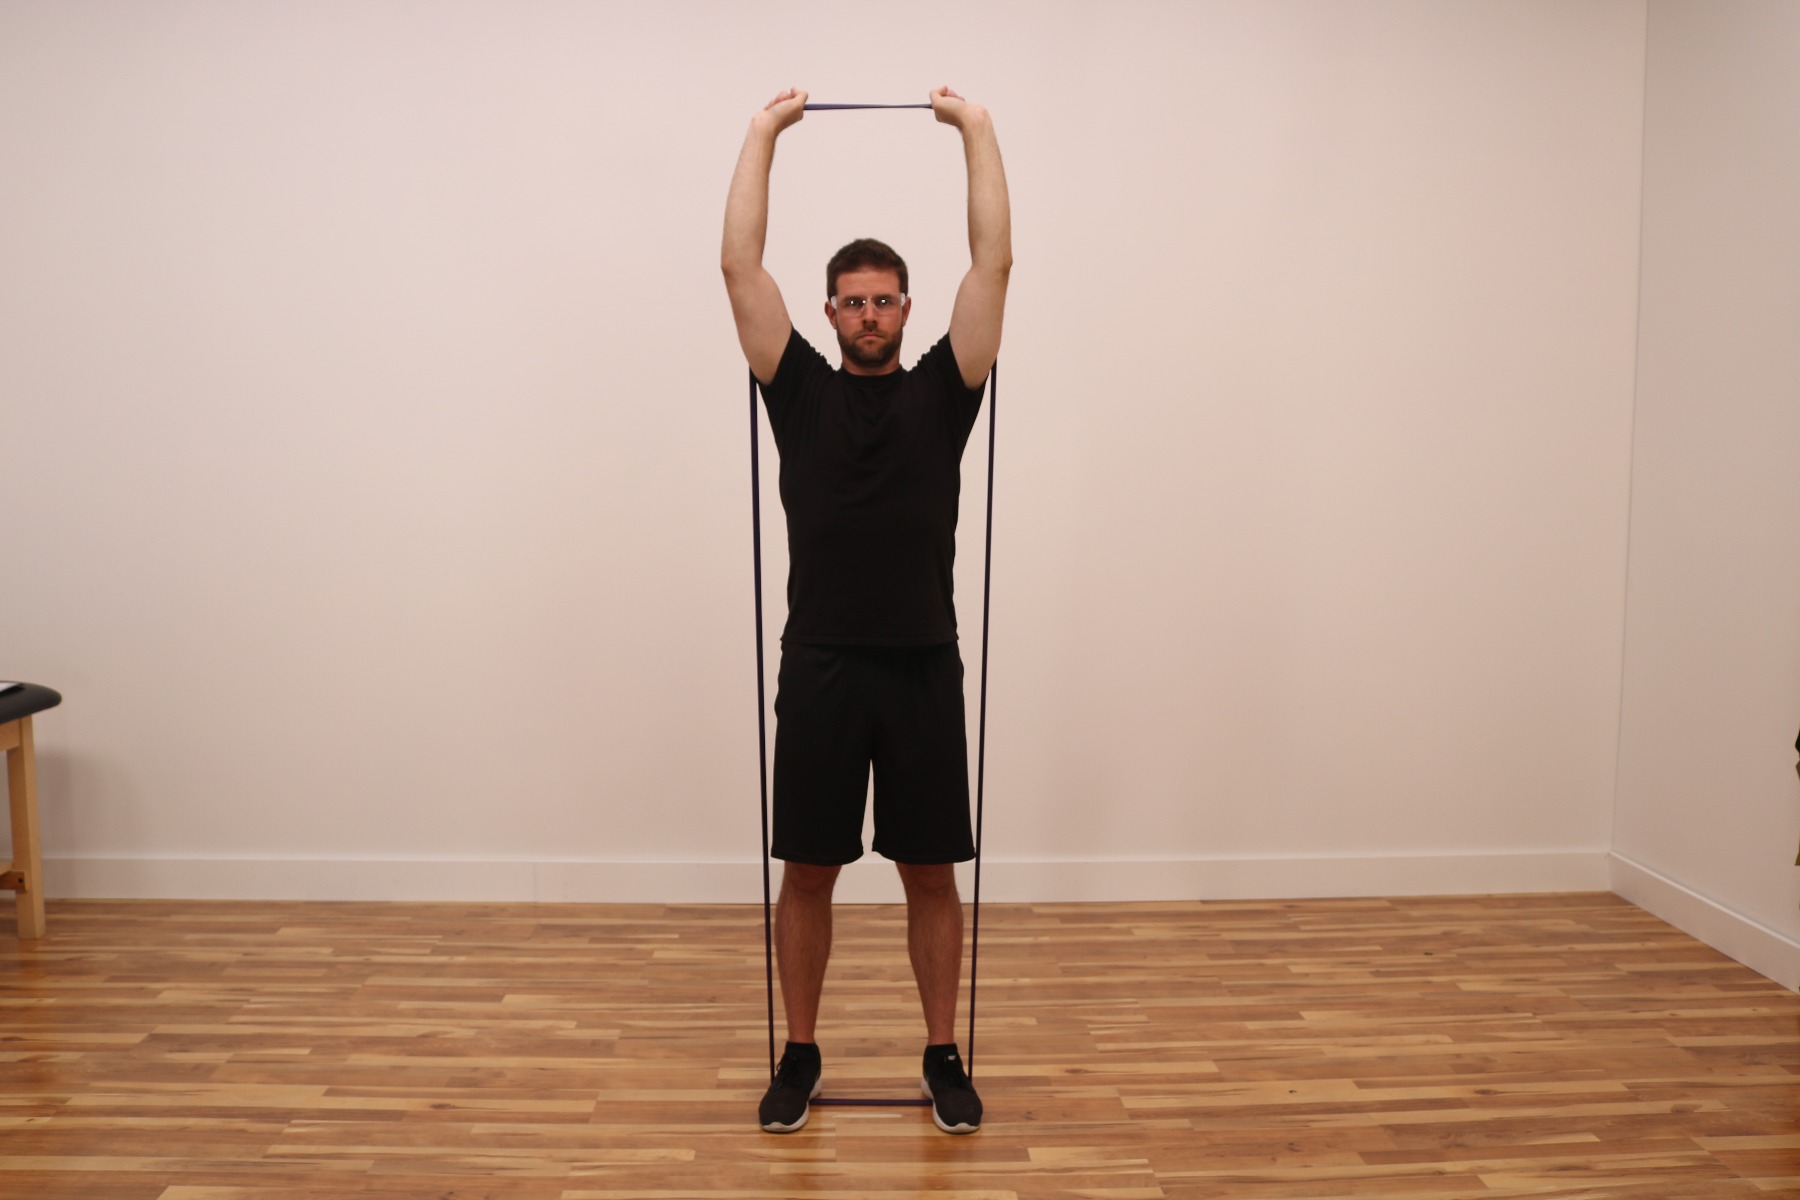

Step 1: Place band under both feet
Step 2: Stand with feet shoulder-width apart
Step 3: Hold the band just outside your shoulders with your palms facing forward
Step 4: Press the band directly over shoulders until your arms are straight
Deadlift
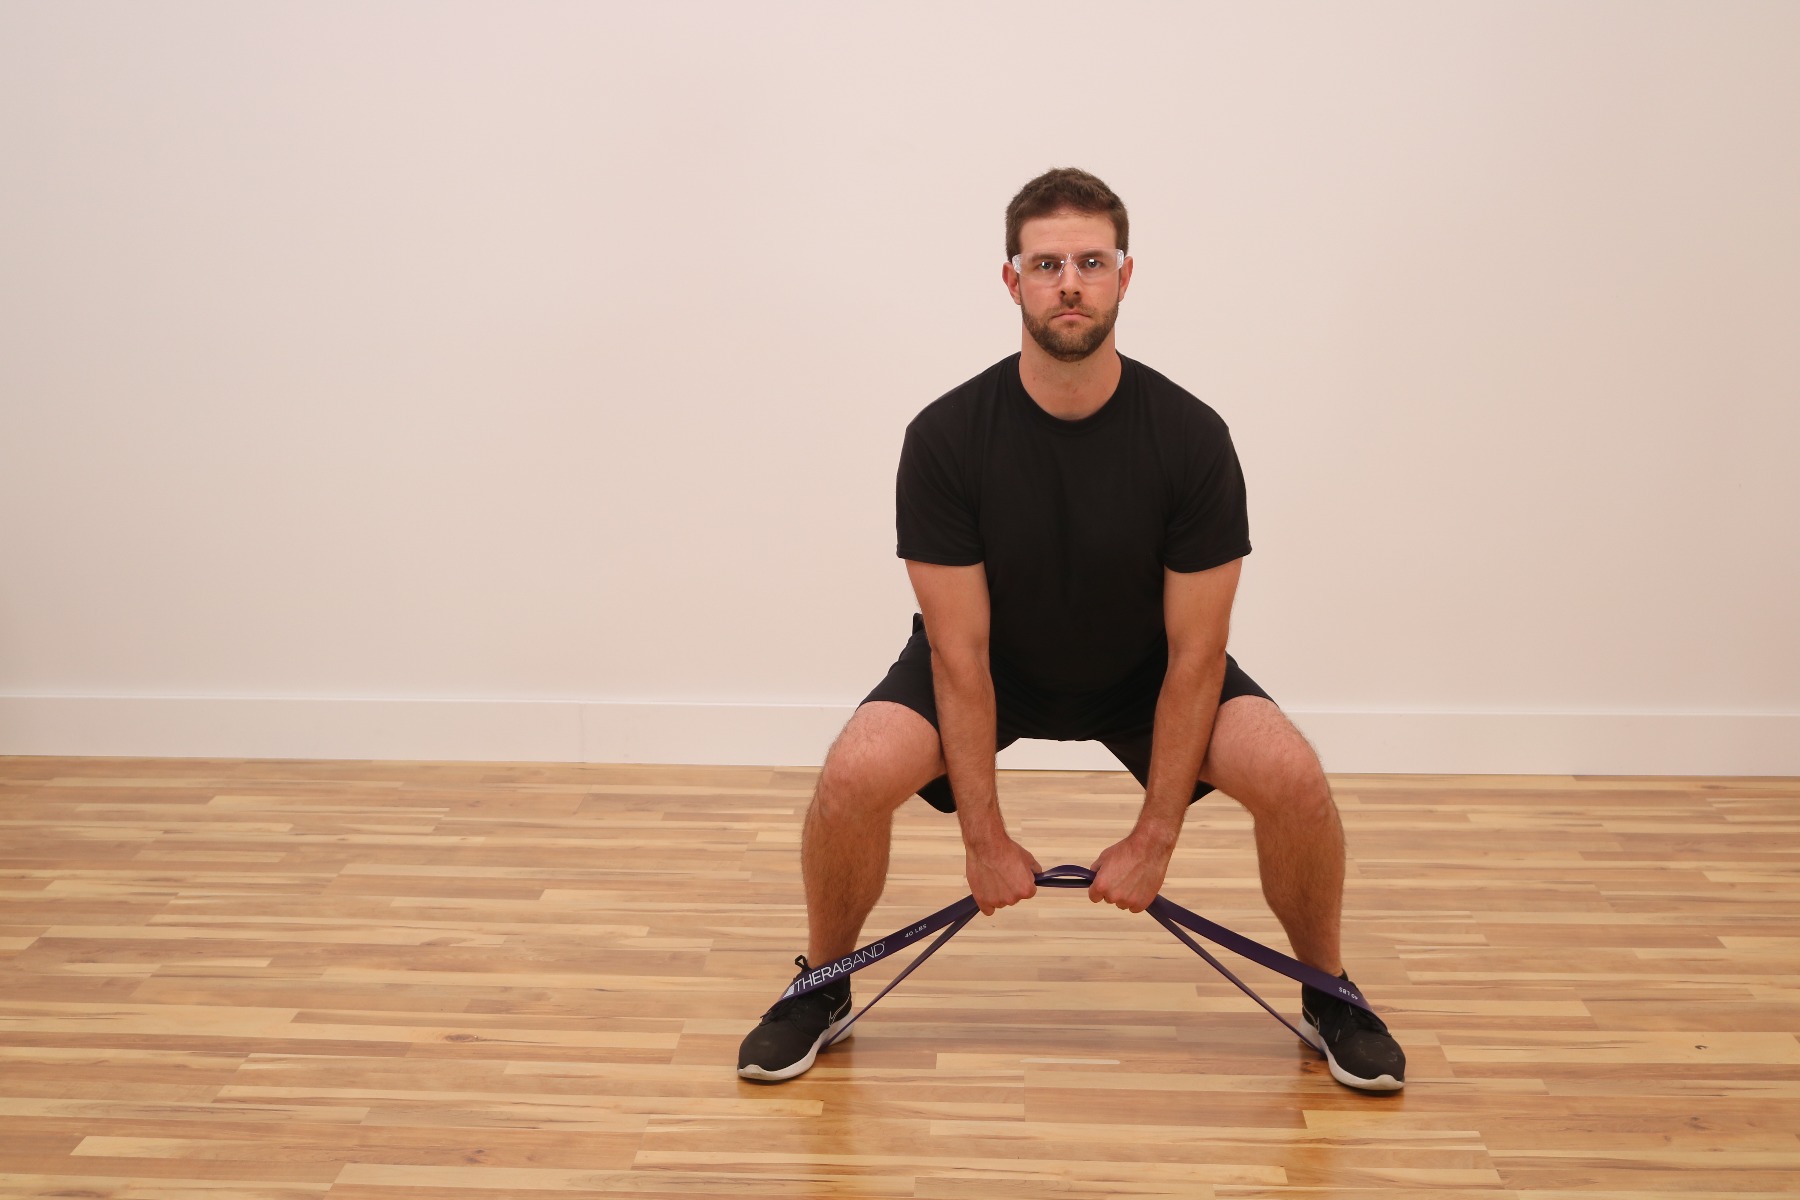

Step 1: Place both feet on top of band wider than shoulder-width apart and grab the band with both hands
Step 3: Tighten core while keeping your chest up and head facing forward
Step 4: Drive hips back not lower than the knees – this is the starting position
Step 5: Contract glutes and drive them forward
Step 6: Pause, then return to the starting position
Bicep Curls
Step1: Stand on the resistance band with both feet shoulder-width apart
Step 2: Hold the band with both hands, palms facing up toward the ceiling
Step 3: Curl your hands upward towards your shoulders, while keeping your elbows at your sides
Step 4: Slowly return to your starting position and repeat
Lunges
Step1: Place the resistance band over your shoulder. Stand with one foot in front of you and one foot behind you
Step 2: Stand on the band with your forward foot. Bend your back leg into a kneeling position. Keep your knee over your ankle as your front leg moves into position
Step 3: Push back up to your starting position and repeat. Switch to the opposite leg
Lateral Lunge to Cross-Body Rows
Step1: Stand with your feet slightly wider than shoulder-width apart
Step 2: Wrap a resistance band around your left foot and hold the other end in your right hand
Step 3: Bend your left knee, and lean into your left side, bringing your right hand down toward your left foot
Step 4: Stand up straight, bend your right elbow, and bring your hand toward the right side of your chest. This completes one rep. Switch to the opposite side
The high resistance bands are available in single packs and multiple band bundles. These bands are designed for multiple uses including speed and agility training, weight training, jumping, plyometrics, stretching, and general conditioning. This heavy resistance band offers maximum durability, portability and flexibility compared to TheraBand Professional Latex Resistance Bands.
TheraBand Stability Discs
TheraBand Stability Trainers
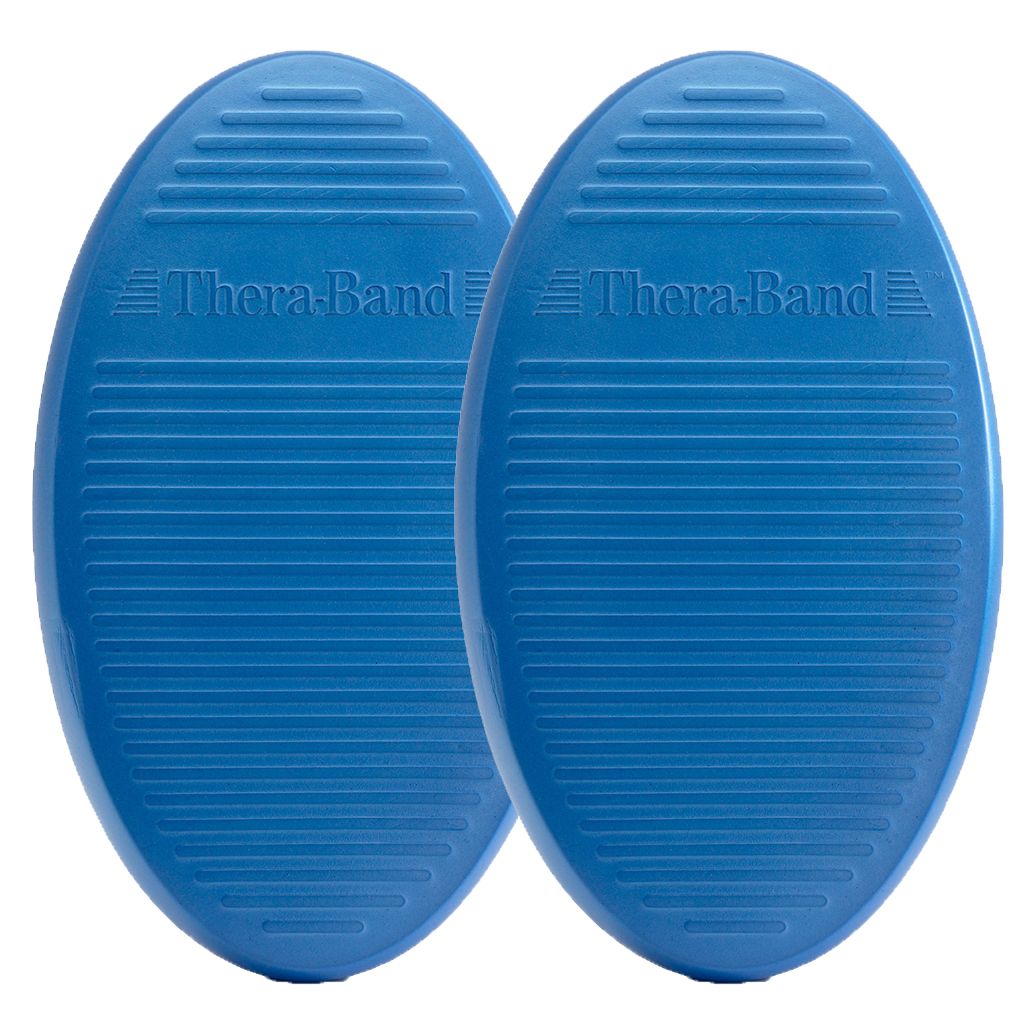

Challenge Your Balance


TheraBand Stability Disc
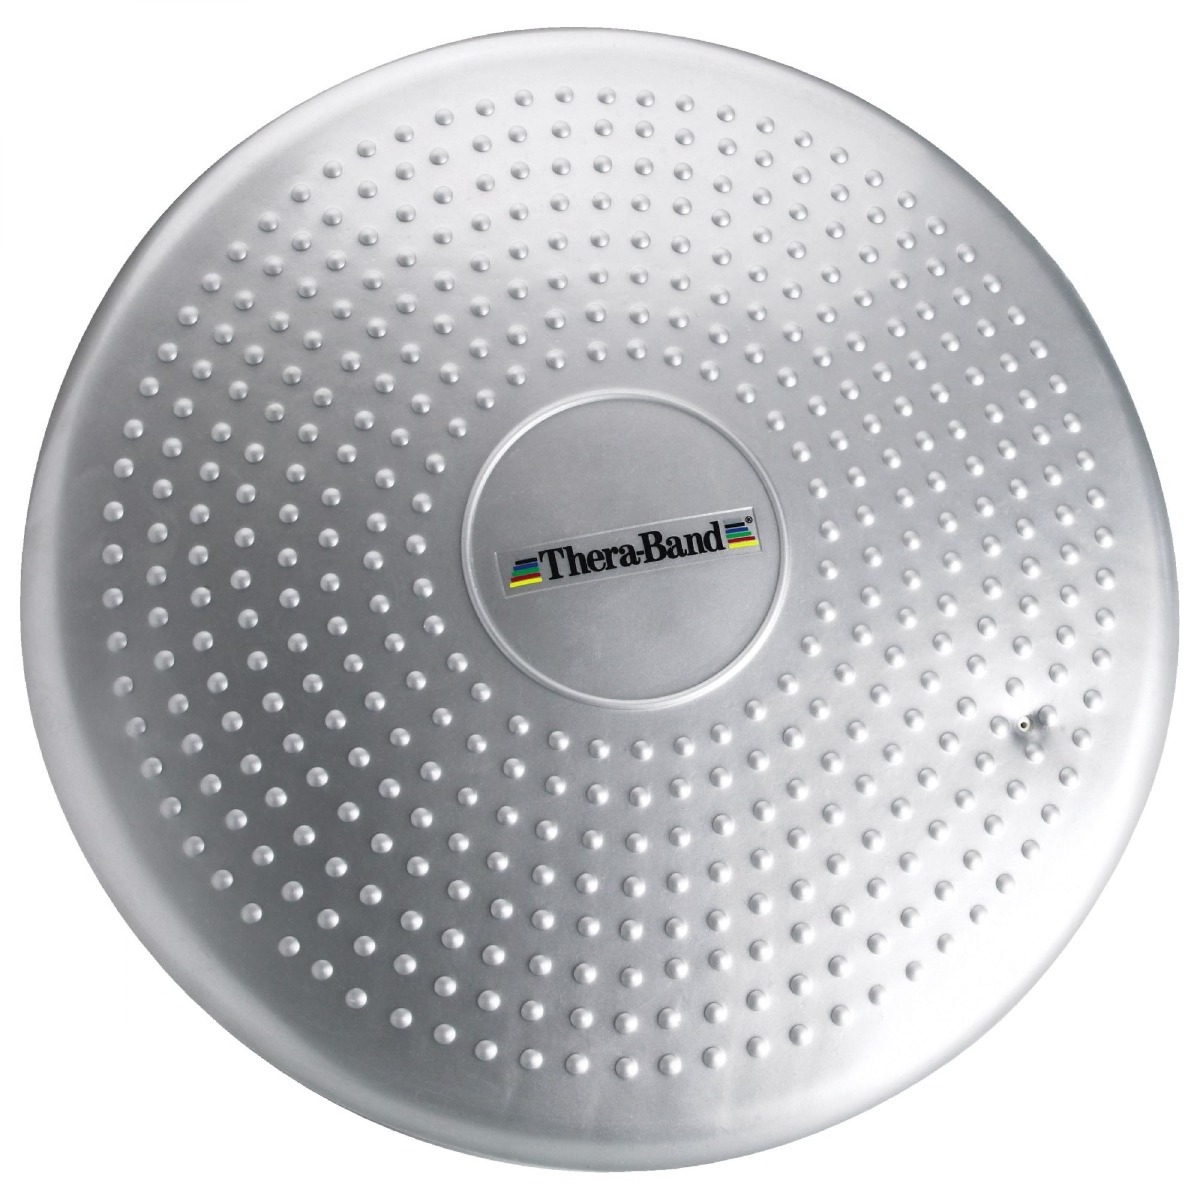

The TheraBand Stability Disc is specially designed to offer more challenges and instability compared to TheraBand Stability Trainers. This high-quality, durable training tool is an unstable sensory-stimulating cushion that helps improve balance and proprioception and strengthens the deep core stability muscles as the body adjusts to maintain balance. Ideal for active or dynamic sitting, the disc provides automatic postural support for the body. It can also be used for more challenging balance exercises.
The dual surface, non-slip design helps maintain posture and activates core muscles. Measuring 13 inches in diameter, each disc comes inflated and ready for your intended use. Ready to activate and effectively strengthen, stabilize, and tone muscles? Let’s get started with a few exercises!
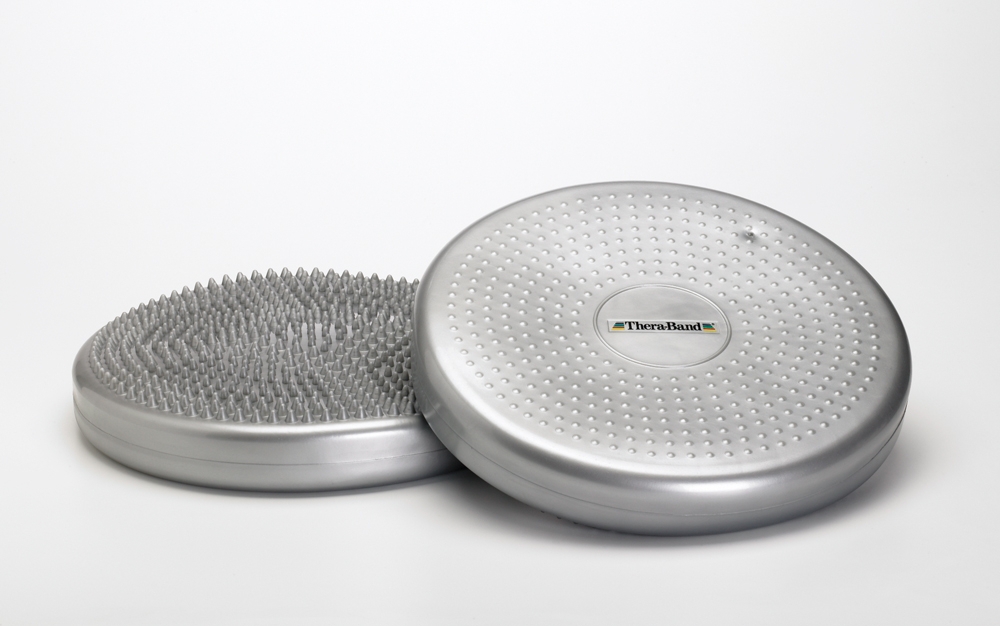
6 Balance Disc Exercises
The stability disc can be used for total body conditioning, designed to intensify exercises such as crunches, lunges, push-ups, planks and more. Use this disc for core, upper, and lower extremity strength and stability training or ankle range of motion and flexibility training. Whether you are at home or traveling, this stability disc is an excellent balance training product for all athletes and users of all fitness levels.
Abdominal Crunch
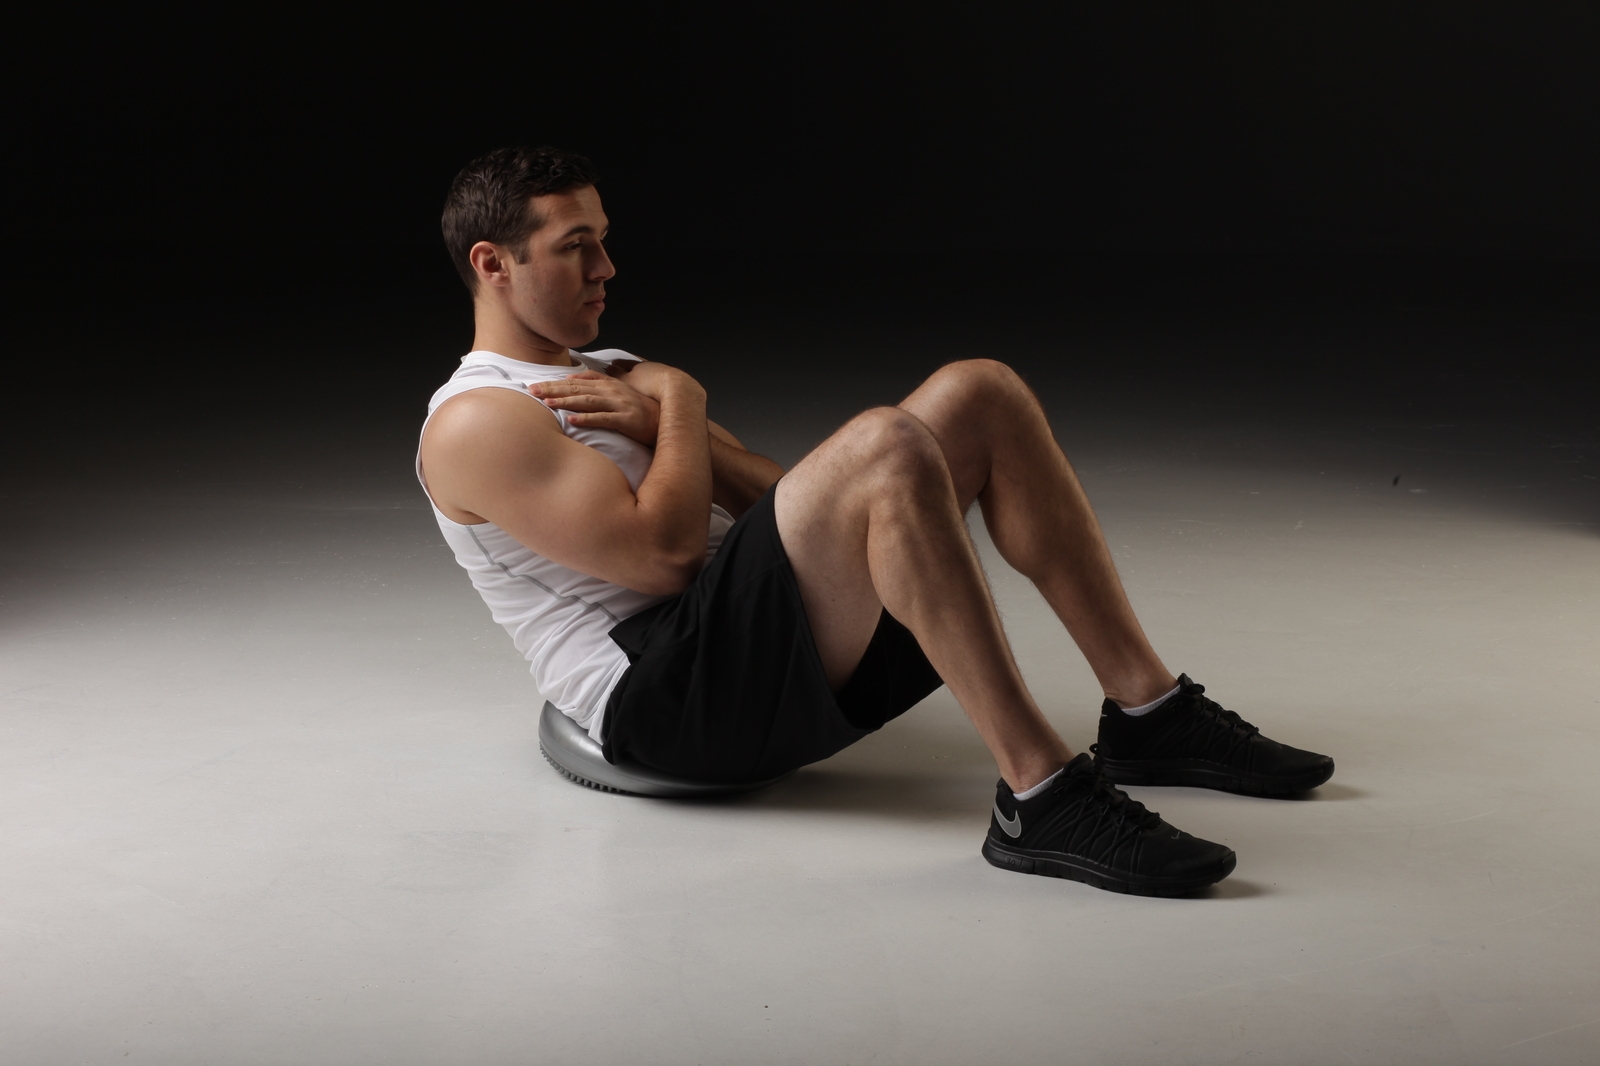

Step 1:Lay on your back with the stability disc under your hips and your knees bent
Step 2: Place your hands behind your head or on your chest. Slowly curl upward, contracting your abdominals and lifting your back off the floor
Step 3: Slowly return and repeat
Reverse Lunge
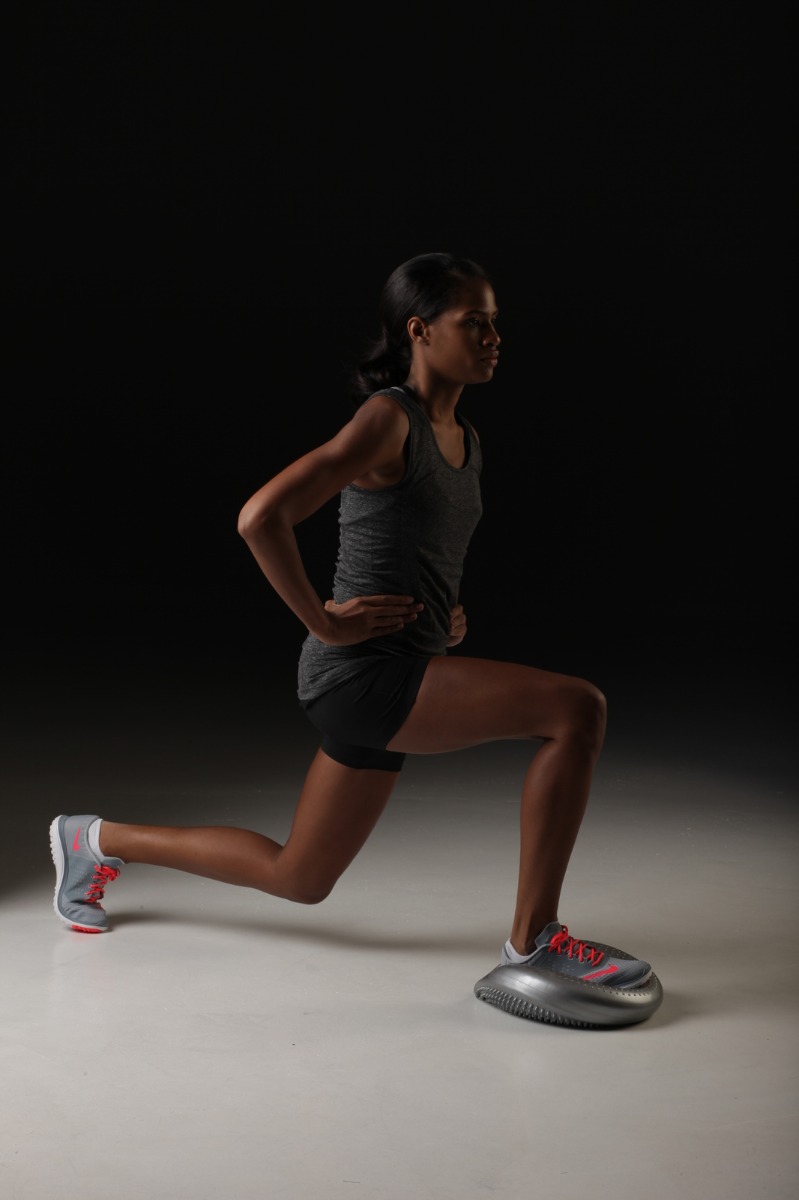

Step 1: Place the stability disc in front of you, with your right foot on the disc
Step 2: Step your left leg back into a deep lunge, bending your knees while keeping your back upright.
Step 3: Return to a standing position and repeat on the opposite leg
Triceps Push-Up
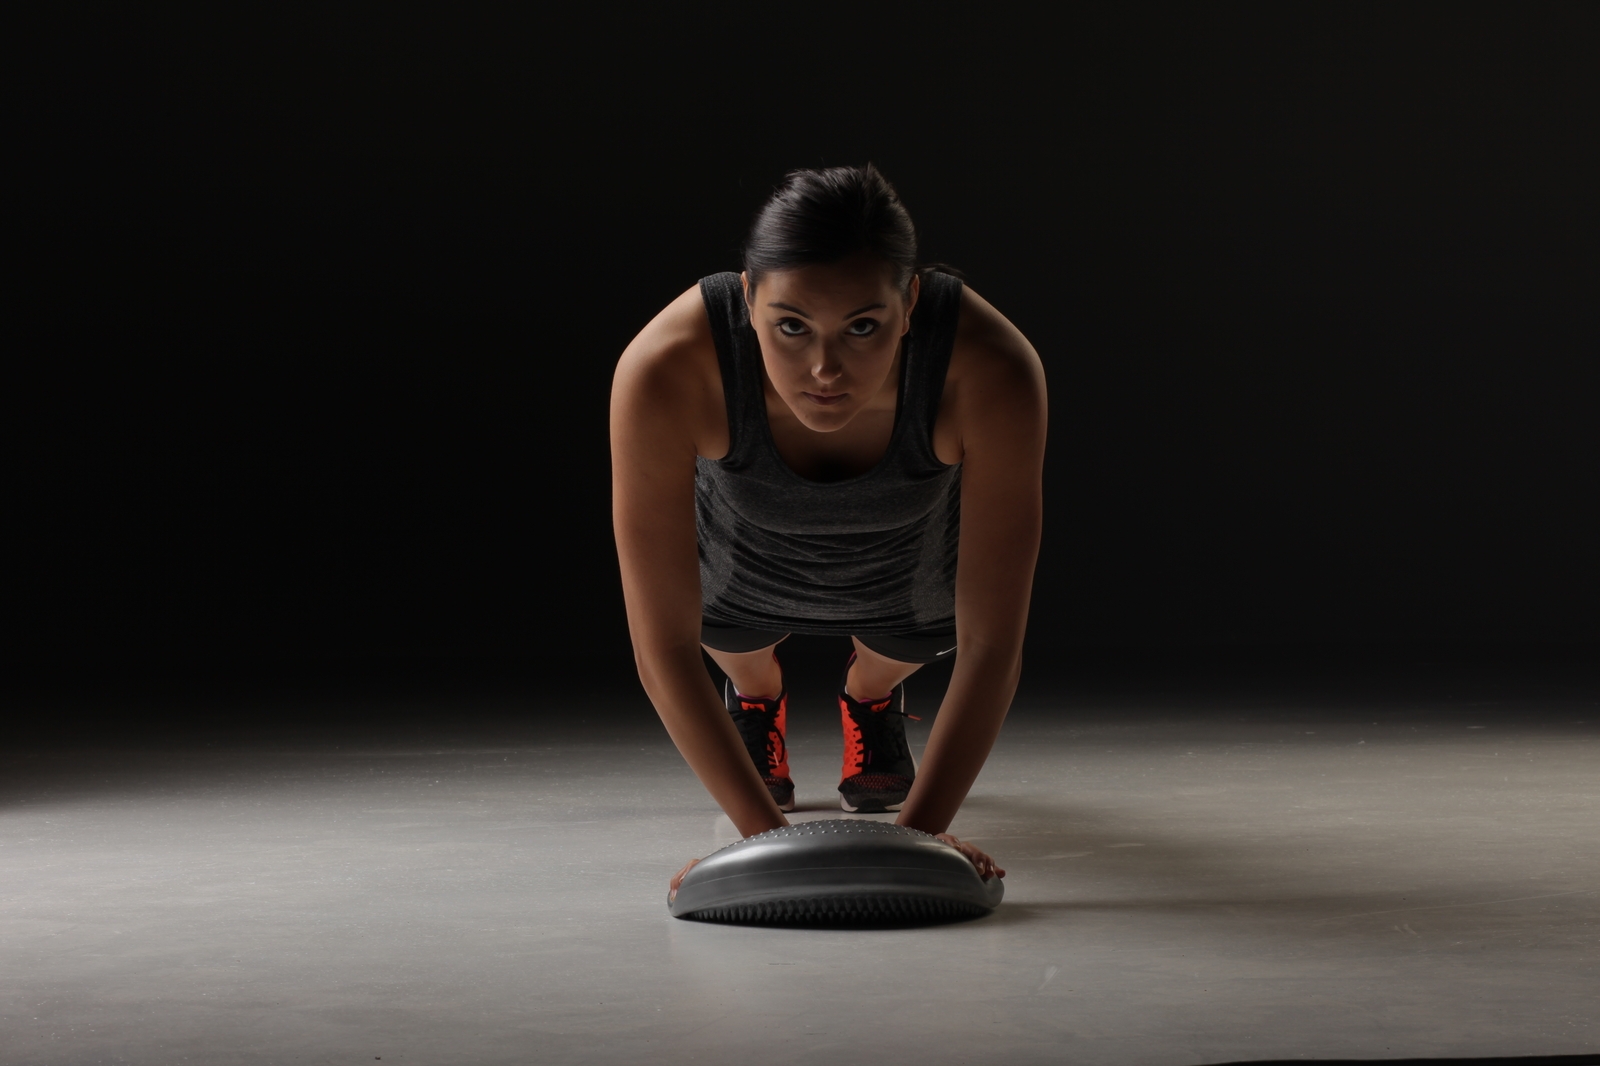

Step 1: Place both hands on the stability disc and extend your legs straight behind you with only toes touching the floor
Step 2: Keeping your core tight and body in a straight line, bend your elbows. Keep your arms against your torso as you lower your chest to touch the disc
Step 3: Push up to starting position to complete one rep
Glute Bridge
Step1: Place one foot on the stability disc, with your heel under your knee
Step 2: Fully extend the other leg in front of you, then press up through your heel. Use your glutes and hamstrings to lift your hips as high as you can. Your extended leg should stay even with your bent leg
Step 3: Hold for 2-3 seconds, then slowly return to start position. Repeat on the opposite leg
Single Leg Raises
Step1: Stand with both feet on the stability disc
Step 2: Once balanced, slowly lift one leg out to the side to 45 degrees, keeping knee straight and toes facing forward. Extend your arms or place them on your hips to help maintain balance
Step 3: Hold for 2-3 seconds, then lower your leg until the toe just barely touches the ground
Step 4: Repeat on the opposite leg
V-Hold
Step1: Sit on the center of the stability disc, with your knees bent and heels on the ground.
Step 2: Extend your arms out to your sides
Step 3: Slowly lift one leg up off the ground, keeping it bent. Once stable, lift the other leg up until both are at 90 degrees
Step 4: Hold this position for up to 30 seconds
Conclusion
Backed by over 40 years of professional use, TheraBand is trusted by clinicians, professional athletes, and everyday fitness enthusiasts for improved flexibility, injury rehabilitation, and full body workouts. TheraBand High Resistance Bands help strengthen torn ligaments or muscles whereas theTheraBand Stability Disc promotes increased focus and concentration while improving core stability and balance. These TheraBand products offer a dynamic workout that will help take your training to the next level!
References
- Anonymous. (2020). All About Resistance Bands. Let’s Bands Blog. Retrieved from https://bit.ly/37UBNUD
- Bumgardner, Wendy. (2020). How to Use a Balance Disc for Exercise and Sitting. VeryWell Fit. Retrieved from https://bit.ly/37MGPmg
Medical Disclaimer: The information provided on this site, including text, graphics, images and other material, are for informational purposes only and are not intended to substitute for professional medical advice, diagnosis or treatment. Always seek the advice of your physician or other healthcare professional with any questions or concerns you may have regarding your condition.


 France
 Australia