France
 Australia
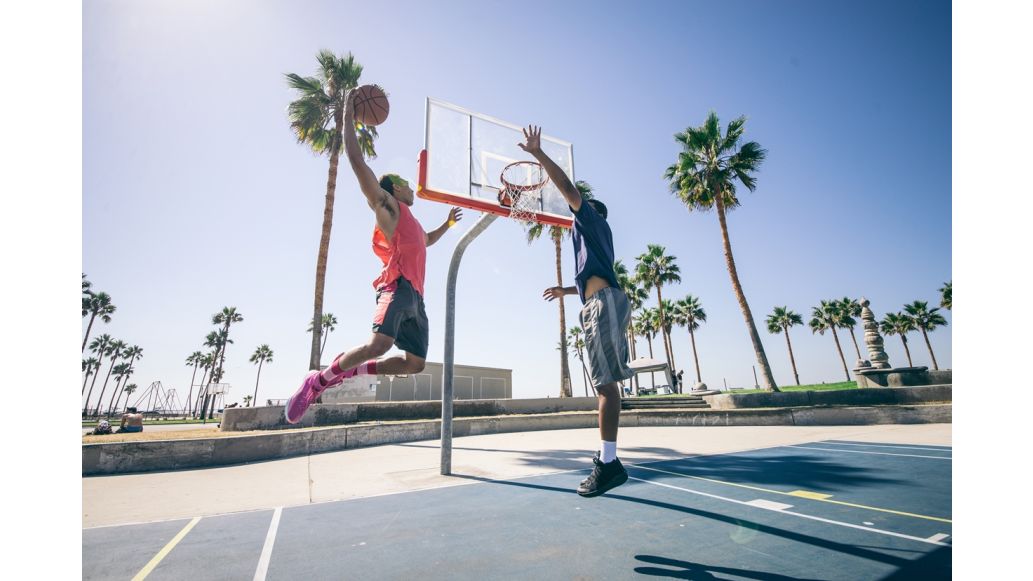
Key Takeaways
- Jumper’s knee also so known as patellar tendonitis
- Jumper’s knee is caused by overuse or injury of the knee’s tendons
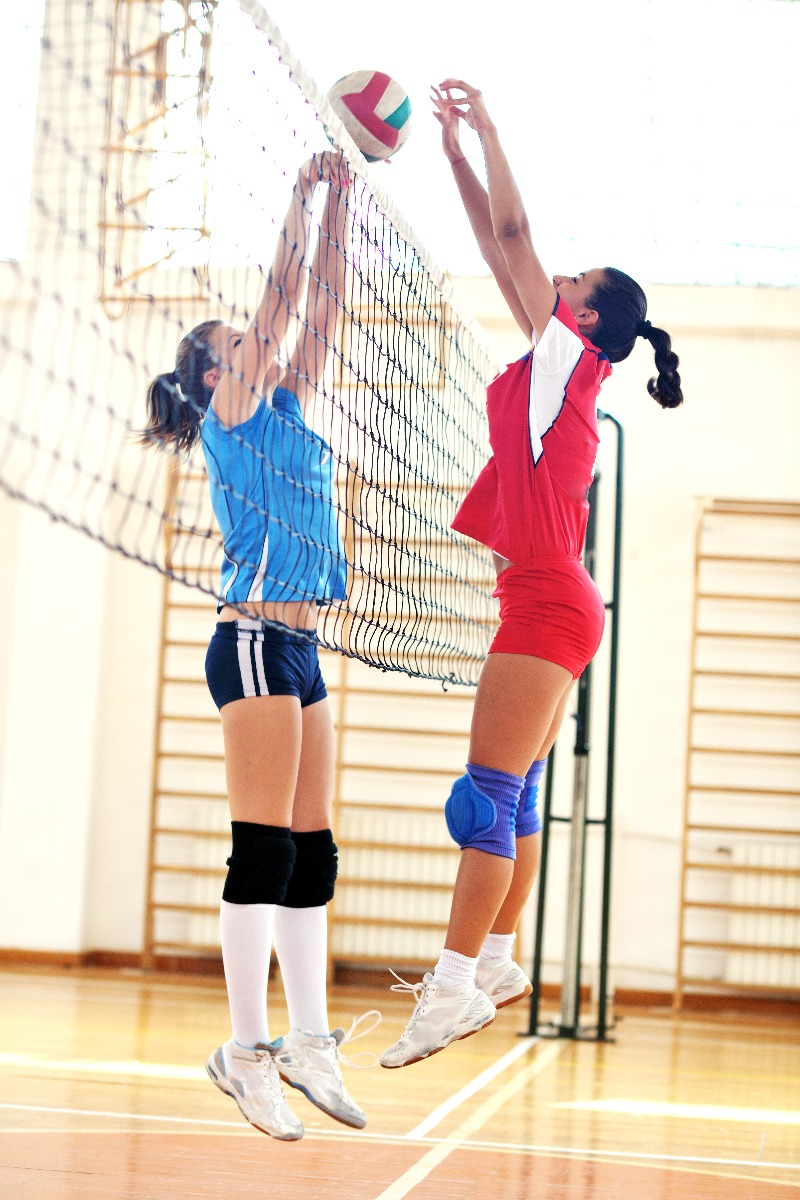
- It is common in sports with lots of running of jumping
- There are 4 grades of severity and different ways to treat each type from RICE to surgery
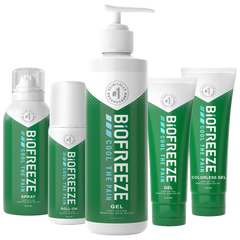
Top Products in This Article


Don’t let jumper’s knee keep you from the sports you love. Whether you’re a basketball player, volleyball player, or other athlete, there are ways to treat and prevent jumper’s knee. Learn more about how to relieve your pain!
What is Jumper’s Knee?
Jumper’s Knee, AKA patellar tendonitis, is caused by overuse or injury to the patellar (knee) tendon. When you overuse your knee, it can cause tiny tears to form in the patellar tendon, causing jumper’s knee. This injury is more common in sports with a lot of running and jumping, including basketball, volleyball, and track and field.
Jumper’s Knee is graded from 1 to 4 depending on how severe the injury is. Grade 1 means you have some pain when performing an activity, while grade 4 means you have constant pain. Noticing the symptoms and treating the injury early can prevent further damage!
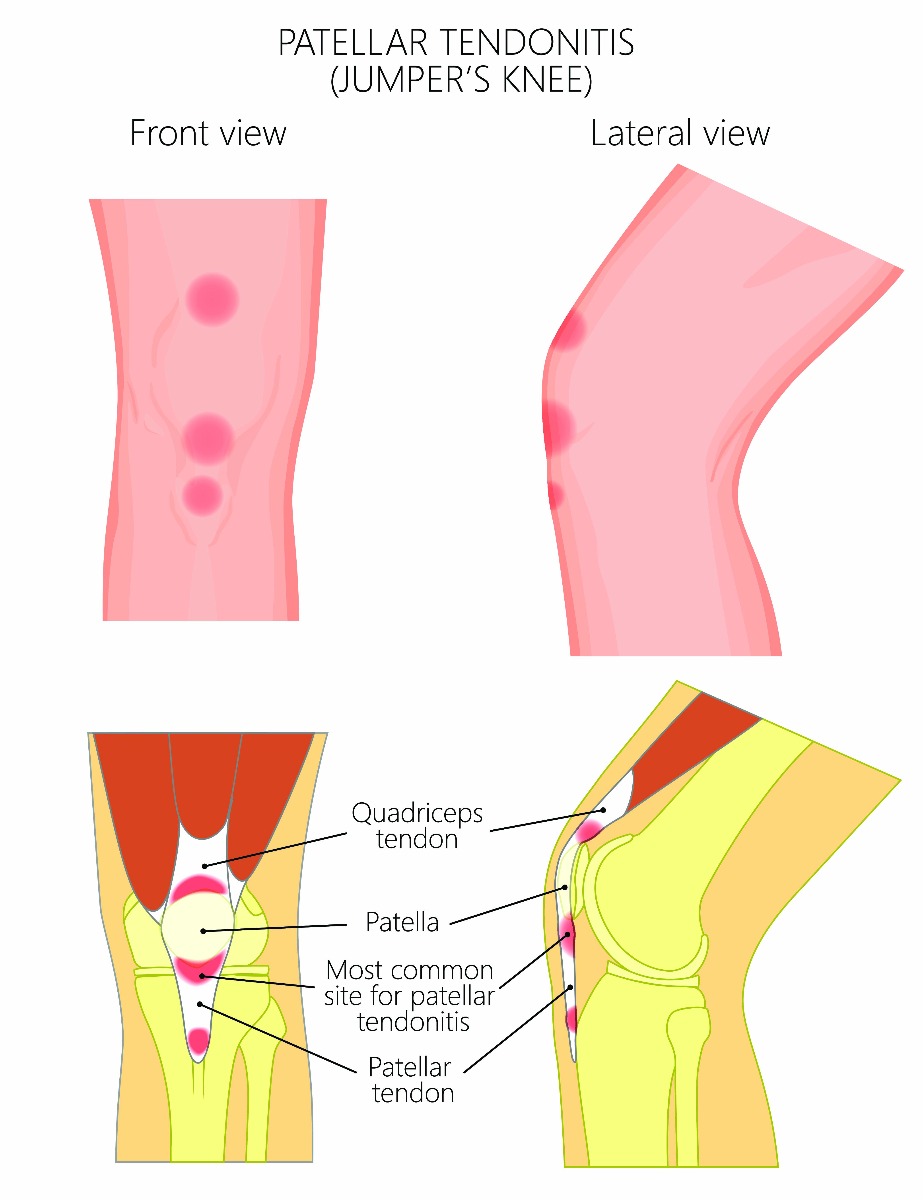
In the diagram above, the first picture shows where patellar tendonitis is most likely to occur. If left untreated, patellar tendonitis can lead to a patellar tendon tear where the patella (kneecap) is pulled upward by the quadriceps.
Common Symptoms of Jumper’s Knee
- Pain beneath your kneecap when moving
- Swelling
- Bruising or redness
- Stiffness of the knee while jumping, kneeling, or squatting
- Leg or calf weakness
- Pain when bending the knee
Jumper’s Knee Treatment and Pain Relief
Jumper’s Knee Pain Relief
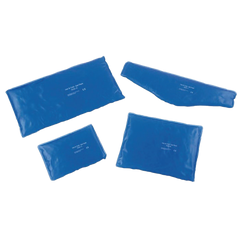
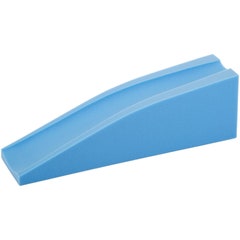
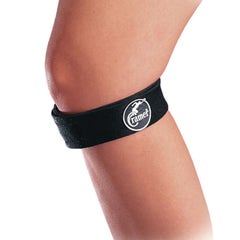
One of the most common methods to reduce the pain and swelling surrounding the injured area is the R.I.C.E. method. This acronym stands for Rest, Ice, Compression, and Elevation. Achieve all four steps by lying down on your back with a Performa Hot & Cold Packs on and elevating your leg with the Rolyan Leg Elevating Splint. The cold pack compresses your knee, while the splint elevates your knee to reduce the blood flow. When you’re not resting, it’s best to wear a brace or strap to compress the area, such as the Cramer Patellar Tendon Strap. Finally, get some pain relief by using a topical pain reliever like Biofreeze. Talk to your doctor for additional advice if needed.
Get everything you need for pain relief!
Jumper’s Knee Treatment
If you’re experiencing jumper’s knee symptoms, your first goal should be pain relief. After you’ve followed the R.I.C.E. method mentioned above, you need to take steps to rehabilitate your knee. Avoid jumping, running, and other explosive movements. Rest and gradually start working out again with reduced intensity. Cycling and swimming are low-impact options that are great for rehab. Stop if you feel pain to avoid straining your knee. Seeing a physical therapist can ensure you get the help and guidance you need during recovery to help you avoid surgery.
Jumper’s Knee Surgery
If your injury is severe and other treatments have failed, you may be required to have surgery. The procedure consists of the doctor making a longitudinal or transverse incision over the patella tendon and then removing the abnormal tissue. After the surgery, it could take anywhere from 6 to 12 months to fully recover and begin training again. You should check with your doctor before beginning rehab and strengthening exercises after surgery.
Rehabilitation Exercises
Stretching Exercises
Test Flexibility:
- Lay on a flat surface, like a bench or couch.
- Pull your knee up to your chest with your leg bent at the knee and your hands gripped under the knee.
- Starting with this will prepare you for other stretches.
Quadriceps Stretch:
- In a standing position bring your leg up behind you to hold your toes in your hand.
- Try to keep your knees together and to pull your leg up straight behind you, not to the side.
- You will feel a stretch at the front of the leg.
- Try to hold this position for 10 seconds when you first begin rehab and work up to 30 seconds when inflammation has gone down.
Strengthening Exercises
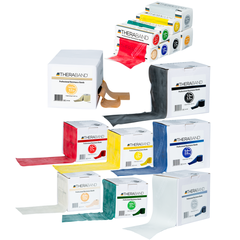
For these exercises, you’ll need a resistance band!
Thera-Band Knee Flexion (Prone)
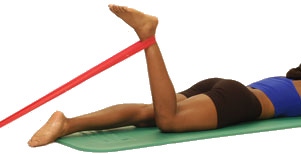
- Tie the TheraBand Resistance Band into a loop and secure one end close to the floor.
- Lay on your stomach and place the other end of the loop around your ankle.
- Begin with your knee straight and bend your knee against the band.
- Hold and slowly return.
TheraBand Lunge
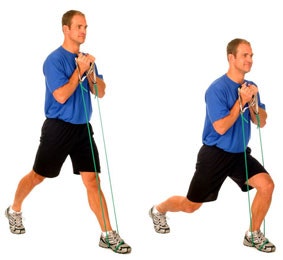
- Start in a standing position with one leg in front of the other.
- Hold the ends of the TheraBand Resistance Band in each hand while standing on the middle of the band with the front foot.
- Bend the front knee, so the thigh is horizontal while the back knee goes towards the floor.
- Try not to rest your back knee on the floor, instead hover over it.
- Hold and return to the starting position.
Tips to Prevent Jumper’s Knee
- It’s important to warm up before and cool down after exercising to prevent patellar tendonitis
- Wear shoes that fit well and support your arch , add orthotics if needed
- Gradually increase the intensity of your workouts to reduce your risk of injury
Relieve your jumper’s knee pain and get back to enjoying the sport you love!
Resources
Gemas, Terry K. (Sept. 2015). Treatment of Jumper’s Knee. Retrieved from https://bit.ly/2OctrNG
Kirchmayr, Dr. Matthias. (April 2018). Do You Have a Case of Jumper’s Knee? Try These Helpful Tips and Exercises. Retrieved from https://bit.ly/2Idj64w
O’Brien, Kathleen B. (June 2013). Jumper’s Knee. Retrieved from https://on.nba.com/2uVYc0u
SportsInjuryClinic. (2018). Jumper’s Knee. Retrieved from https://bit.ly/1RHF8eo
Medical Disclaimer: The information provided on this site, including text, graphics, images and other material, are for informational purposes only and are not intended to substitute for professional medical advice, diagnosis or treatment. Always seek the advice of your physician or other healthcare professional with any questions or concerns you may have regarding your condition.