France
 Australia
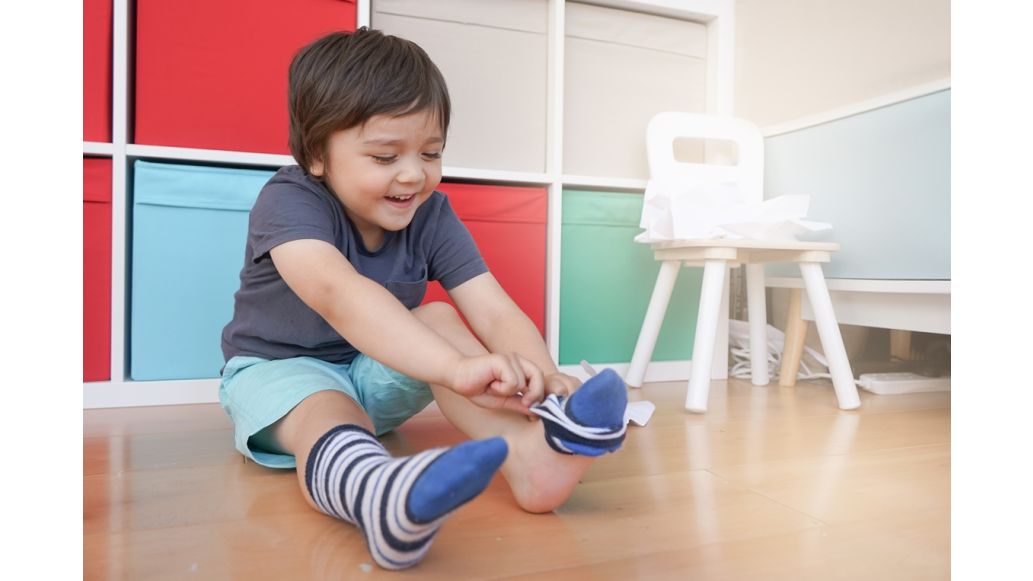
Disabilities can make getting dressed independently difficult for your child. These skills can take longer to develop than for other children their age. In fact, your child might always need some assistance. But if you’re ready to teach them to do as much as possible by themselves, these tips will help.
Dressing Practice Makes Perfect
Tips to Make Independent Dressing Easier
How to Overcome Specific Dressing Challenges
Autism
Low Vision and Blindness
Physical Disabilities
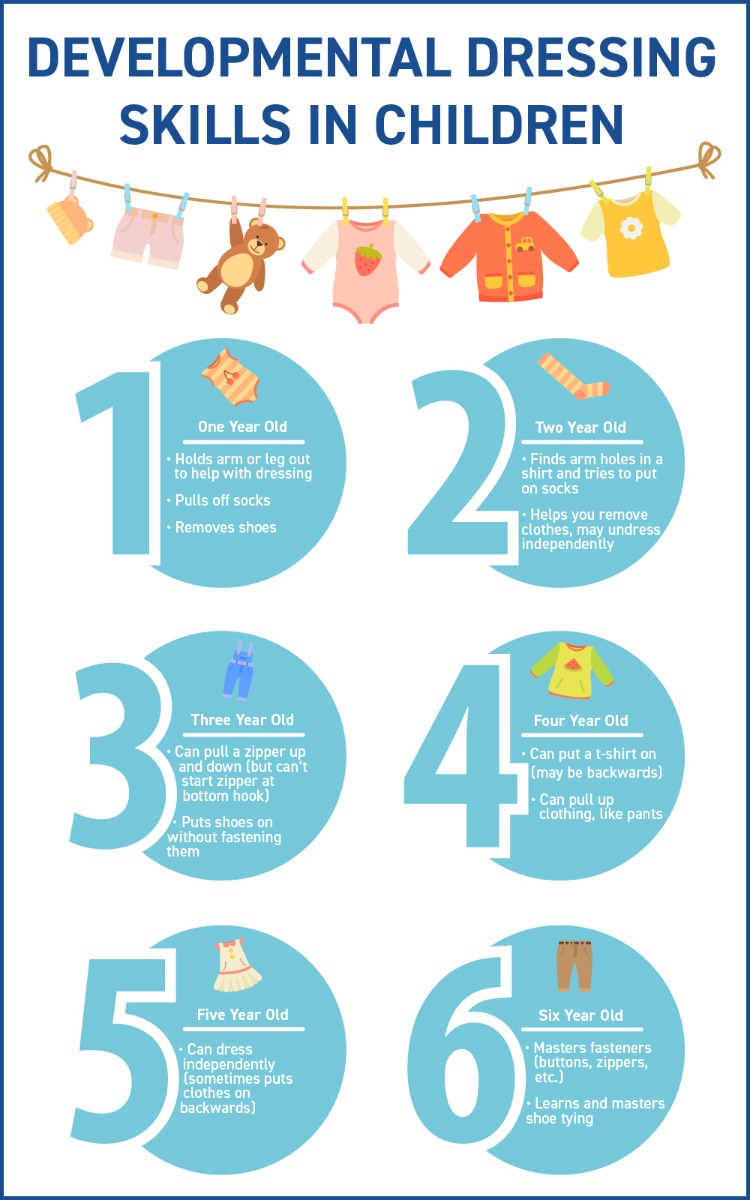
Know the Developmental Dressing Skills Timeline

Depending on your child and their abilities, this timeline might be different for you – and that’s okay. Use this as a guideline to show you where to start and the order of skills progression, from taking off socks to dressing independently.
Why You Need to Teach Your Child Now
If you’re rushing to get everyone fed, dressed, and out the door to catch the bus, independent dressing might not be your main priority. It takes time and patience that many parents don’t have in the morning.
Dressing your child saves you time and stress, but it also creates a detrimental cycle: Your child has difficulty, so you take over, and your child then misses the opportunity to practice and improve.
If you don’t have time first thing in the morning, start by practicing with taking off clothes and putting on pajamas. It’s important to make time for your child to start learning, and starting in the evening when there’s more time might be a better option for you.
Dressing Practice Makes Perfect
The more your child gets to practice getting dressed, the more confident and competent they’ll become. Practice doesn’t have to be boring. From improving motor skills to actual dressing, here are some activities to make practice fun.
Basic Skills Practice
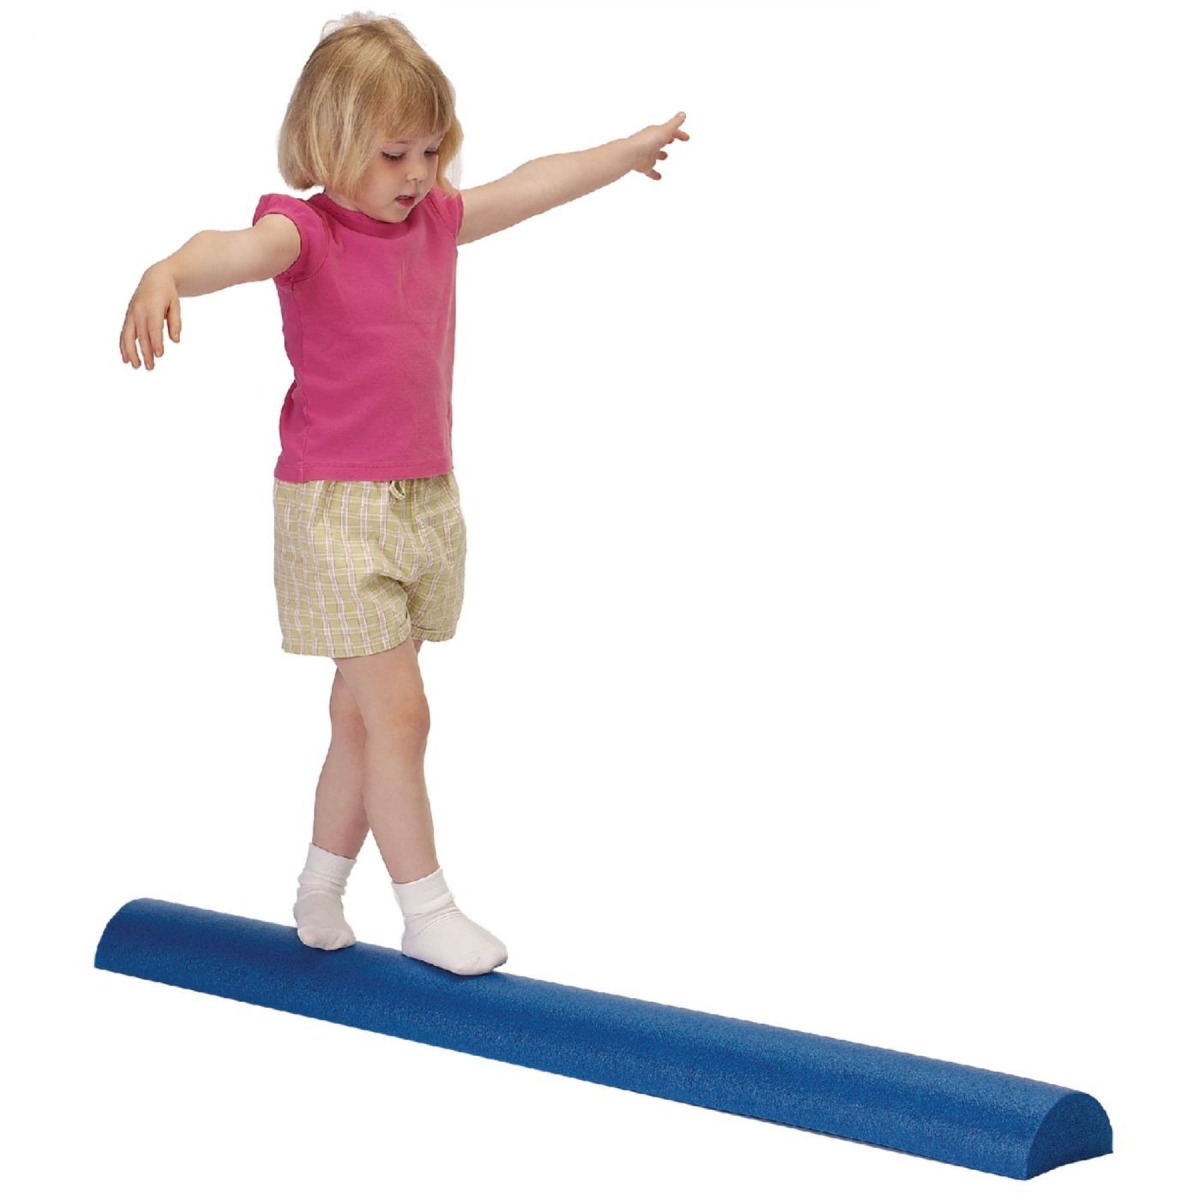
Dressing takes a lot of motor skills that your child might need to work on developing. Coordination is required to put their arms in a shirt. Fine motor skills help your child master buttons and other fasteners. To put pants on while standing, your child needs to be able to balance on one leg. These and other skills are important to practice before actually moving on to dressing.
Balance can be practiced by standing on one leg and then progressing to standing on a foam stability trainer. Make practice fun by having a pretend circus! Use chalk or tape to make a line on the floor and step with one foot in front of the other “tightrope walking”. Add a challenge by placing bean bags to hop over or by using a balance beam.
Ready to work on fine motor skills? There are plenty of toys and activities that develop them. Peg boards and bead sequencing sets are a couple options. Coloring is one more easy way to work on these skills.
Hand strength is another important part of manipulating clothing and fasteners. Instead of play dough, have your child tug, squish, and roll therapy putty.
Get creative. Play Simon Says to teach body parts and sing Hokey Pokey to learn right and left. Start to get them used to clothing by playing “match the socks” – have them search a pile of socks to find all of the pairs.
Dressing Practice
The Backwards Chaining Method
One you’re ready to practice dressing, try the backwards chain method. It lets your child feel accomplished every time. They should start with the last step and work backwards from there.
For example, if you’re teaching your child to put on a shirt, first let them tug the bottom down after it’s already on. Next time, let them put their second arm in and finish putting on the shirt. After that, they can put both arms in. And before you know it, they can pull the shirt over their head, put their arms in, and tug it down. Let them do a little more each time!
Make Practice Fun
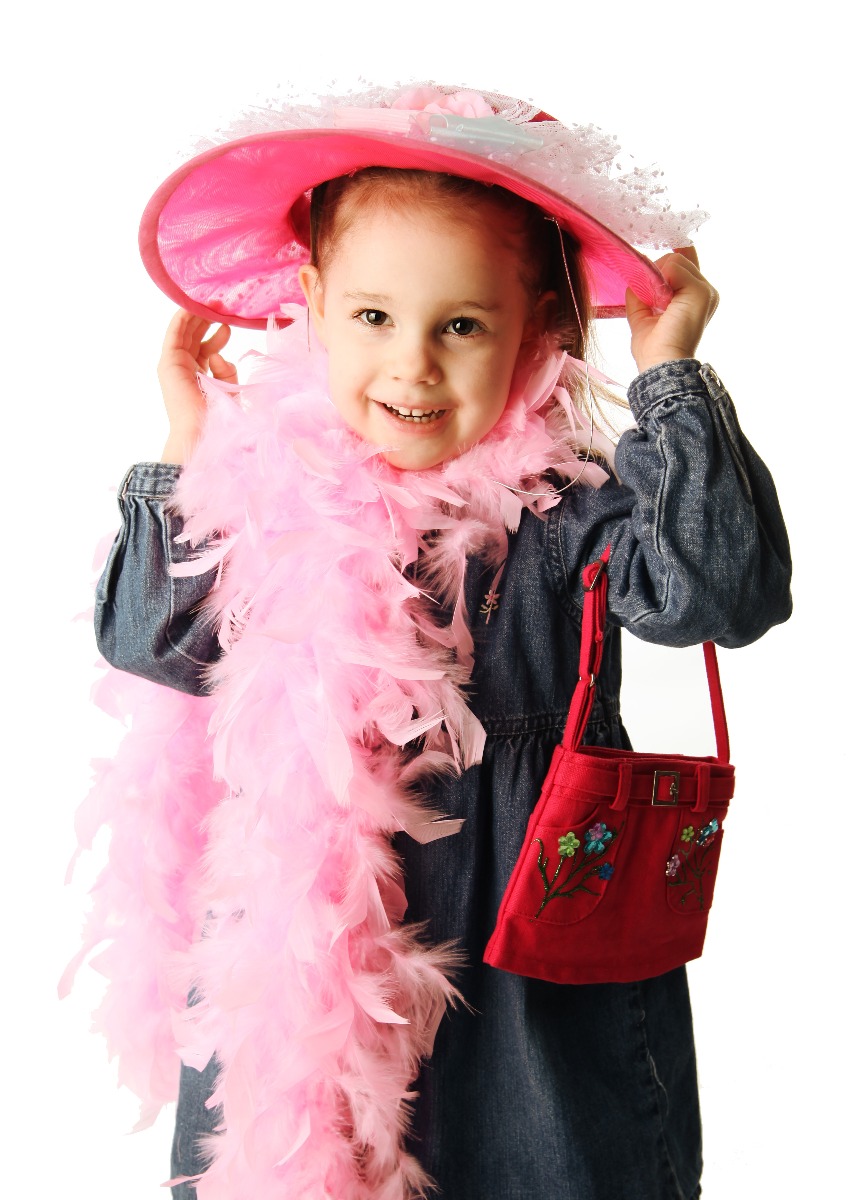
If your child isn’t excited about practicing, make it fun. Start by dressing their dolls or stuffed animals so they can visualize the steps. Then use dress up costumes or have a fashion show to make practice part of playtime.
TheraBand Resistance Bands are a great way to practice dressing movements. Create a band loop by tying the ends of the band together, so the loop is slightly larger than the widest part of your child’s body. Have your child step in and pull it up to their waist or put their arms through and pull it down. This mimics putting on pants or a shirt. You can make it into a game to see how many loops they can get around their waist in certain amount of time. Or cut smaller loops to practice putting on socks.
Teach Through Modeling
If your child has an older brother or sister, encourage them to join in. Lots of kids like to imitate an older sibling and might be willing to practice dressing after seeing their sibling do it.
You can also model how to get dressed so your child can see it. You could make mistakes (put a shirt on inside out or backwards), ask “Can you help me?”, and allow them to correct you.
Tips to Make Independent Dressing Easier for Your Child
Little changes can make a big difference in limiting your child’s frustration while dressing. Check out our tips to make getting dressed, putting on socks and shoes, and fastening buttons easier.
10 General Dressing Tips
- Dress your child in front of a mirror so they can see what’s happening.
- Use loose clothing with no fasteners (think t-shirts and sweatpants) and start when you have plenty of time and patience.
- Lay the clothes out in order or stack them with the first thing to put on at the top. Lay them out in the shape of a body to help with visualization or create a picture board so your child can see each step and knows what to do next.
- Teach your child to find the tag so they know which side is the front and which is the back.
- Make up a song or chant about the steps to getting dressed. It can be about the clothing order or about how to put something on, ex. “Over the head, one arm in, both arms in, pull it down, that’s how we put a shirt on”.
- Place your hand over theirs to help guide their movements (hand over hand technique).
- Offer a choice, “You can wear the green shirt or the red shirt”.
- Pick clothes out the night before to save time in the morning.
- Organize the closet separating play clothes, school clothes, and fancy clothes. This lets your child know what to choose from when going outside, getting ready for school, or heading to church.
- Talk about what clothes are appropriate for each season. “In the winter we wear coats because it’s cold.
- In the summer we can wear shorts and a t-shirt or even a swimsuit to the pool.” Help them determine what the weather is for the day and the best clothes to wear.
7 Tips for Socks and Shoes
- Ankle socks are easier to practice with than regular socks because they have less material.
- When you use longer socks, teach your child how to scrunch them up first before pulling them on.
- Colored heels help your child put on socks the right way (or stick to tubular socks).
- Draw a smiley face on the shoe tongue and tell your child they need to see all of it, even the smile, to get the shoe open enough to put their foot in.
- Start with slip-on or hook and loop shoes. If they already have lace up shoes, use no-tie elastic laces.
- Trouble getting shoes on the correct feet? Cut a sticker in half and put half against the inner side of each shoe. Now your child can match them up to make the smiley face, puppy dog, or whatever favorite character you choose.
- When teaching shoe tying, go step by step. Practice with the shoe on their lap first using long, thick laces.
5 Fastener Tips
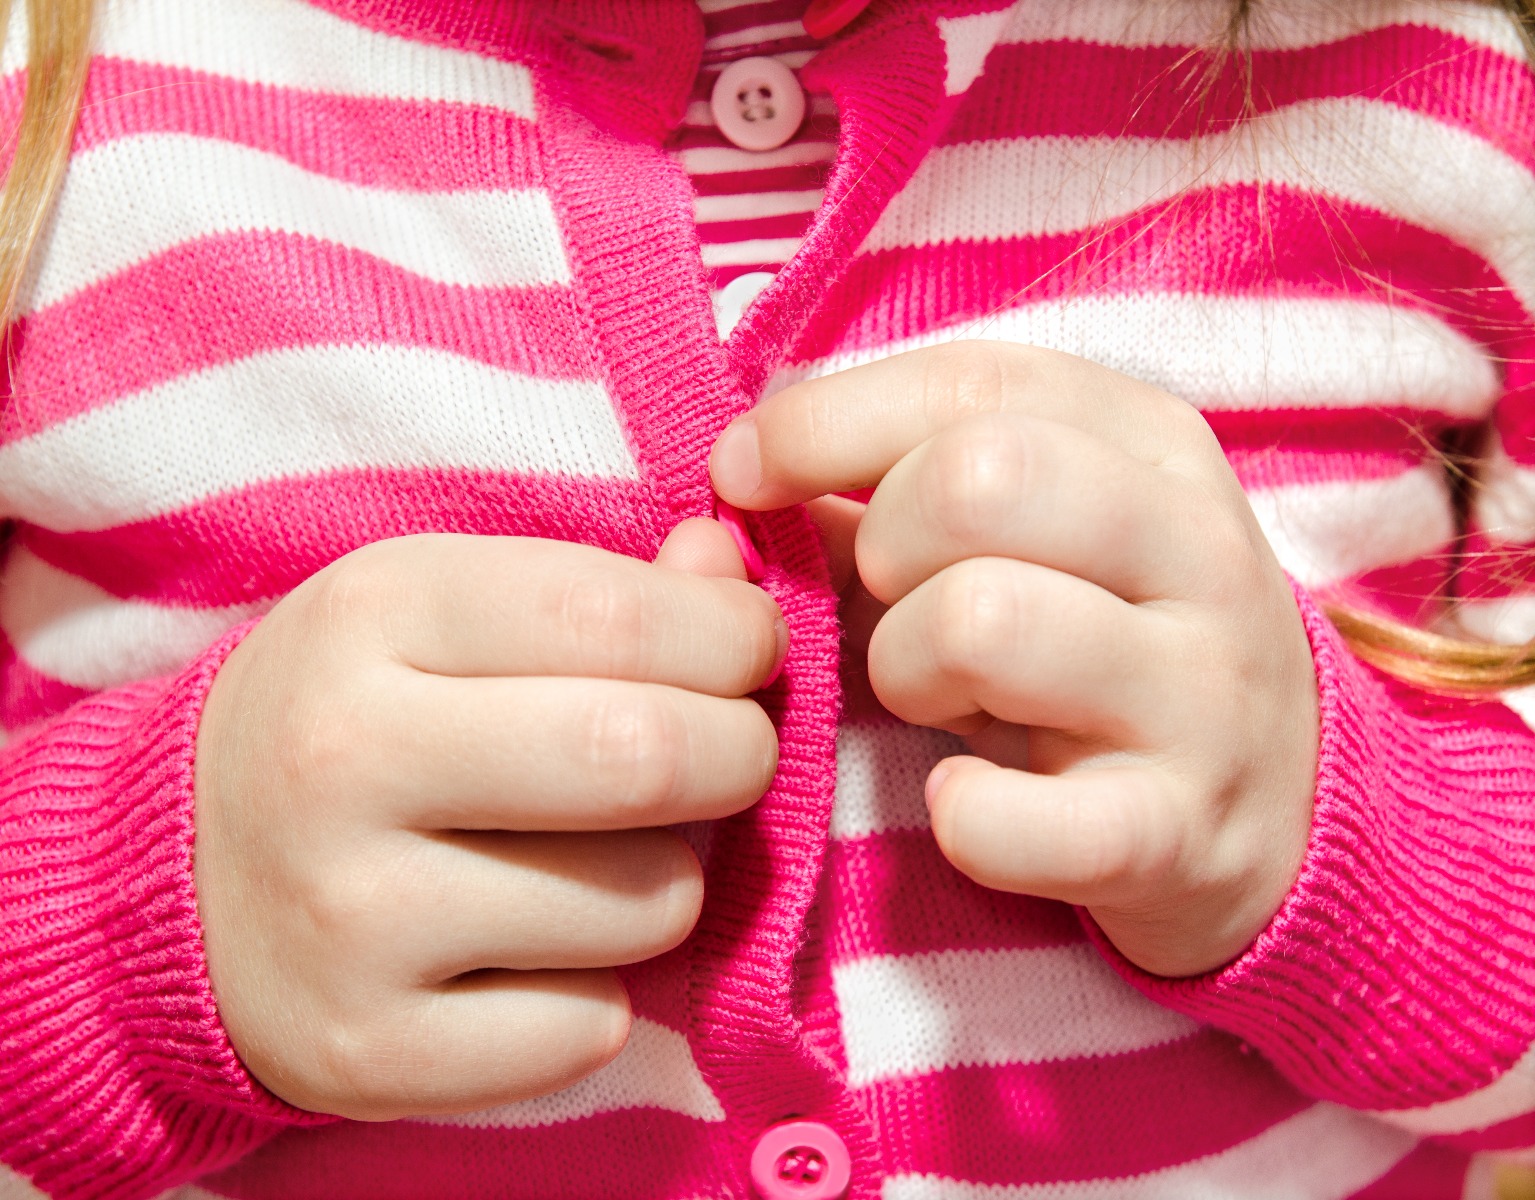
- Practice, practice, practice! Start with the clothes flat on a table and progress to having your child wear it. You can use your child’s clothes or vests designed for practicing.
- Test the zipper before buying, different choices can be more or less difficult to secure in the shank.
- Start by having your child zip and unzip the jacket while already secured in the track.
- Start with large flat buttons, not tiny or concave.
- Make sure the buttonholes are big enough. You may need to push the button through a few times on new shirts to loosen them, or cut the hole to make it slightly bigger.
How to Overcome Your Child’s Specific Dressing Challenges
Children with special needs all have different parts of dressing that they find more difficult than others. Tackle your child’s specific challenges so they can get dressed independently.
Self-Dressing and Autism
Sensory triggers can make getting your child dressed more difficult, never mind getting them to dress themselves. Being aware of your child’s preferences can make a big difference during the learning process. Here are some things you might want to consider:
- Some children with autism don’t like clothes with seams.
- Others find clothing tags bothersome.
- Children with sensory disorders may have preferences on tight or loose clothing and whether it’s textured or smooth.
- If your child prefers a certain character or color, buy clothes with this in mind. It might help facilitate independence.
- Try different fabrics, your child might find some comfortable and others itchy or stiff.
- Your child might prefer wearing new clothes after they have been washed a few times and smell like your detergent.
Dressing with Low Vision and Blindness
Starting when your child is an infant, narrate the dressing and undressing process as you go, “Now I’m taki1ng off your socks”. When you start to teach independent dressing, use the hand under hand or hand over hand technique.
Hand Under Hand
You perform the action and your child’s hands rest on top of yours. This is great in the beginning stages so your child can get used to the movements and motions.
It’s also a good way to teach shoe tying. Be sure to stick to a consistent method and describe what you are doing as you go. Have your child sit next to you so the perspective is correct.
Hand Over Hand
As your child starts to become proficient, you can switch to this method. Here, your child is the one doing the actions and your hands are over theirs to guide as necessary. This lets them start to get dressed independently, with help when needed.
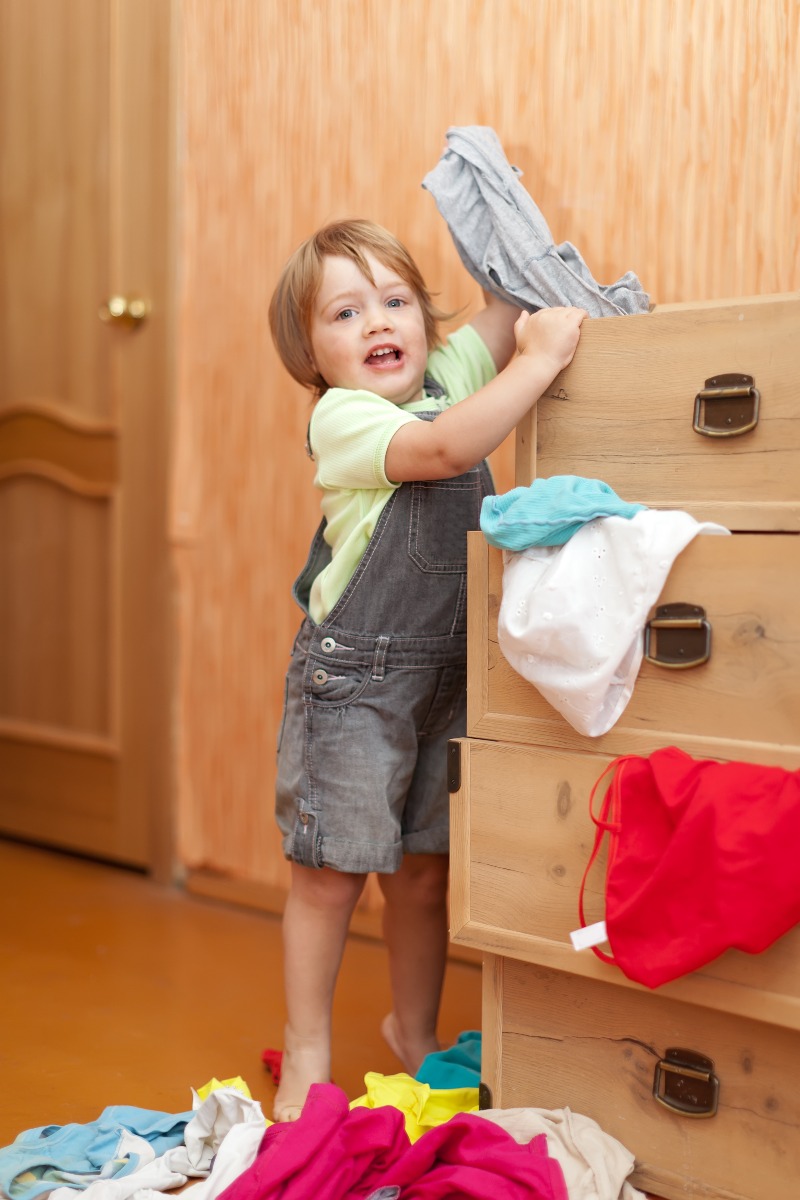
The Importance of Organization
Once your child can get dressed alone, organization becomes very important. Put only one to two types of clothing in a drawer, like socks and underwear, or t-shirts and sweaters. You can use drawer dividers to help separate them. Separate clothes in the closet, too. This makes it easier for your child to pick their own clothes.
Use ice cube trays, small boxes, or bags to separate jewelry, hair ties, and accessories.
Label clothing using braille tags, different shaped buttons, or a different number of safety pins to signify different colors or patterns. This makes it easier to choose clothes that match. Let your child decide on the system so it makes sense to them and they can remember it. Keep a guide handy for reference.
Show your son or daughter how to feel for the seams and tags in clothing. This will make it easier to check clothing so it isn’t inside out or backwards. Choosing clothes the night before can also make getting dressed in the morning easier.
Physical Disabilities and Dressing Aids

Mobility, balance, or grip ability can make it hard for children with disabilities to dress independently. While some children may always need additional help, others can learn to dress themselves by using adaptive aids.
Adaptive Aids for Children and Teens
- Reachers allow children to pick up clothing from the floor without bending and can also be used to pull it on.
- Dressing sticks are also useful for people with limited mobility to help tug clothing into place.
- Use a button hook/zipper pull to fasten buttons and zippers with ease.
- Hook and loop belts are simpler to open and close.
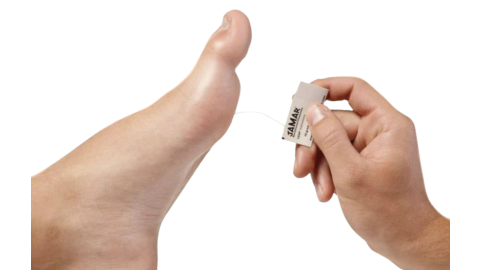
- Slide into socks and pull them up quickly using a sock aid (available in pediatric & adult versions).
Choosing the right clothing can also make dressing easier. When teaching, start with loose clothing without any fasteners.
Adaptive clothing for children and adults can enhance independence. Many of these options replace buttons with hook and loop fasteners or magnets that require less dexterity. Additions, like front fasteners, make it easier to put on the clothing. Other changes allow variations in fit and can accomodate medical needs, including abdominal access and wear over casts or braces.
You can make minor changes yourself, like adding a larger zipper pull on coats or changing hem lengths.
Many children find shoe tying hard or even impossible. Switching out the laces for elastic no-tie laces can make it easier for your child to put on their shoes.
5 Quick Tips
- Start with one garment at a time and add additional pieces after they master the previous.
- Buying clothing one size bigger will make it easier to put on.
- If your child has a weaker side, put that arm/leg in first.
- If your child has balance or mobility difficulties, have them get dressed while seated or while holding something stable for support.
- Consider the clothing style before buying, some are easier to use with wheelchairs and other mobility aids.
References
Hertfordshire Community NHS Trust. (2011). Children’s OT Developing Dressing Skills. Retrieved from https://bit.ly/2CwVUKB
Medical Disclaimer: The information provided on this site, including text, graphics, images and other material, are for informational purposes only and are not intended to substitute for professional medical advice, diagnosis or treatment. Always seek the advice of your physician or other healthcare professional with any questions or concerns you may have regarding your condition.