France
 Australia
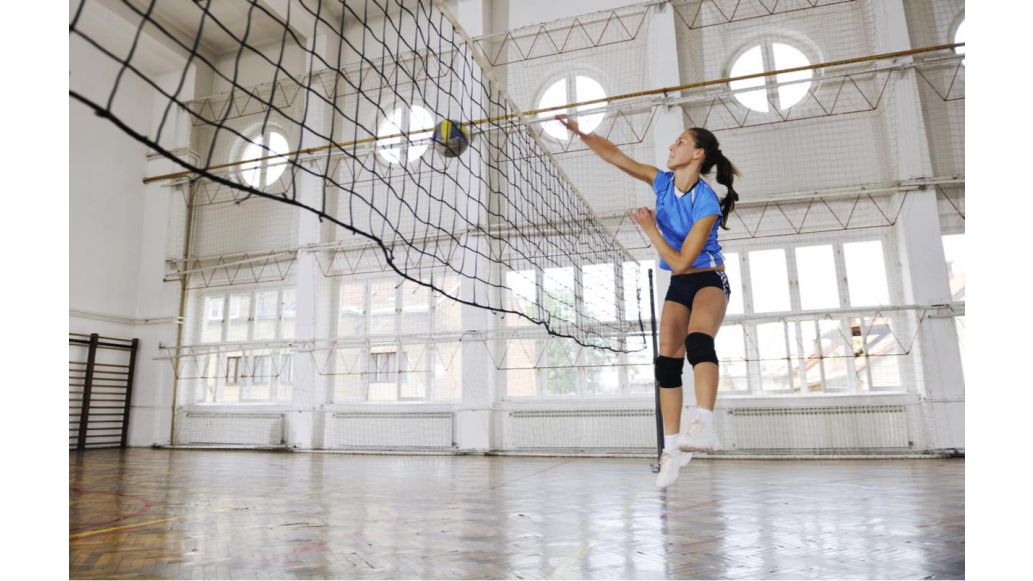
Ankle sprains are the most common injury in volleyball. They are also responsible for the most lost playing time. If you have an ankle sprain, get back in the game by practicing the following treatment guidelines and rehabilitation exercises! Then prevent future injuries with bracing and rehabilitation exercises.
What Causes Ankle Sprains in Volleyball Players?
Why Treating and Preventing Ankle Sprains Matters
How to Treat an Ankle Sprain
Minimize the Severity of Recurrent Ankle Sprains
Rehabilitation Exercises to Rebuild Strength and Balance
What Causes Ankle Sprains in Volleyball Players?
The most common injury while playing volleyball is a lateral ankle sprain. Players often land on the outside part of their foot causing a sprain on the lateral ankle ligaments. A player might also jump at the net and land on an opponent’s foot causing their weight to roll over onto the outside part of their foot. If this force overwhelms the ankle stabilizing muscles, the lateral ankle ligaments are then stretched and injured.
Why Treating and Preventing Ankle Sprains Matters
Without proper treatment and rehabilitation a more severe sprain can weaken your ankle, making a re-injury more likely. Repeated ankle sprains can lead to long-term problems including chronic ankle pain, arthritis, and ongoing instability.
How to Treat an Ankle Sprain
The severity of an ankle sprain depends on how much damage is done and how unstable the joint becomes as a result. With a more severe ankle sprain, the recovery process grows to be more extensive. Based on the amount of damage, your ankle sprain can be one of three grades:
Ankle Sprain Grades
Grade 1: Ankle feels sore and might be slightly swollen. In this case, the ligament has been overstretched but not torn.
Grade 2: Sprain is preventing you from putting your full weight on the ankle. You might experience prolonged pain, swelling, and bruising. This is because the tear has caused bleeding under your skin. In this case, there is a partial tear in the ligament.
Grade 3: This is a full tear of the ankle ligament. This level of sprain causes severe pain, swelling and bruising. Your ankle will feel unstable and will be unable to support any of your weight.
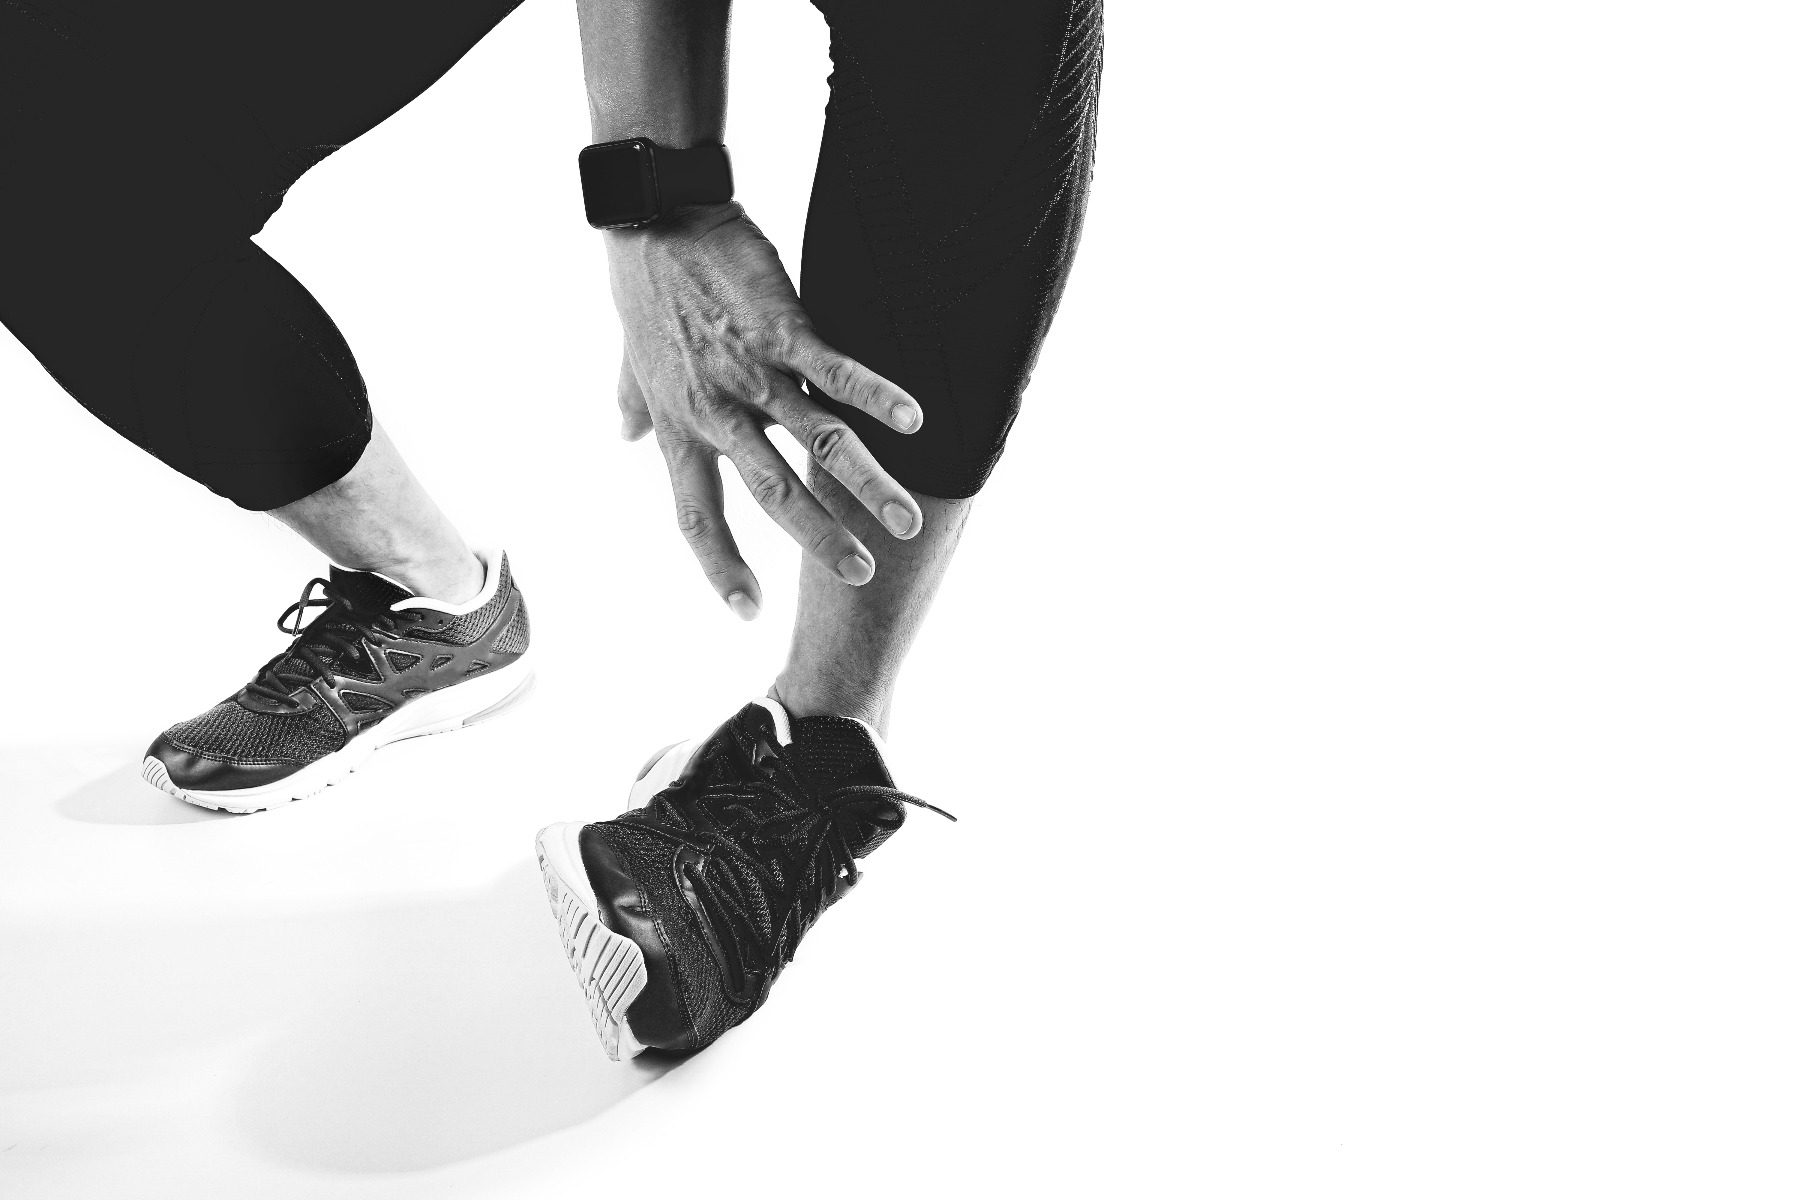
To treat an ankle sprain, start by decreasing the pain and swelling to help protect the ligaments from further injury. If you experience severe pain and swelling, rest your ankle as much as possible for the first 24-48 hours. In the first 24 hours, avoid anything that might increase swelling. If the ankle becomes numb or can’t bear any weight, contact a clinician to set up an appointment for it to be properly examined.
M.E.T.H Method
Orthopedic injuries are commonly treated using the RICE Method. However, the RICE Method reduces blood flow which is crucial in the recovery process following any injury. METH helps control the blood flow and encourages fast-acting healing. During the first 48-72 hours following an ankle sprain, repeatedly treat the injury using METH. METH is ideal for soft tissue injuries and is an acronym for Movement, Elevation, Traction, and Heat. Depending on the severity of the injury and duration/time lapse following the injury, movement and traction are the two most important steps in the METH method.
Movement: It’s important to get some range of motion back into your ankle during the first 30 minutes following an injury. Use resistance bands during flexion and extension exercises. Don't put too much weight on the ankle but also don't avoid weight-bearing altogether.
Elevate: Over the next 24-48 hours following the sprain, put your ankle on a pillow instead of letting it rest on the ground while you sit on the couch. By elevating your ankle above the heart, you’re allowing gravity to bring blood back to the heart and lungs. This helps reduce swelling and inflammation.
Traction: You can have someone apply gentle traction to your foot in the case of an ankle sprain. Physical therapists encourage healing by gently pulling on the joint. Don't pull longer than a few seconds.
Heat: It is suggested that inflammation is the bodies’ natural response to injury and bringing more blood to the injured region will help speed the process and instead delaying it. Heated therapy encourages blood flow rather than stifling it. Apply heat on the ankle for no more than 30 minutes using a hot pack.
Minimize the Severity of Recurrent Ankle Sprains
It’s important that you allow for maximal healing before stepping on the court again. However, it’s also important that you strengthen the muscles around the ankle and the foot during recovery. You can do this by performing proprioceptive exercises to rebuild balance and neuromuscular control. Make sure to get your doctor’s approval before starting rehabilitation exercises.

A common example of a proprioceptive (balance) exercise is the use of a wobble board or resistance band training. Ankle sprains require about 8 weeks of daily rehabilitation exercises to decrease the risk of re-injury. These exercises can be practiced at home or in physical therapy. See our suggested exercises below.
Research has found that a 10-day duration of complete immobilization in a below-knee cast or brace resulted in faster recovery than if the athlete only used the tubular compression bandage. To provide comfortable support to the ankle ligaments, try using athletic tape or the Active Ankle 329 brace. Athletic tape is best when used for a brief period of time and only during the recovery process following a sprain. Ankle braces however can be worn during rehabilitation as well as a preventive to reduce the risk of injuries during training and competitive events, as proven by several studies. Braces also allow athletes to perform strengthening exercises while wearing a brace for additional support.
Check out the fitting instructions here for the Active Ankle 329.
Rehabilitation Exercises to Rebuild Strength and Balance
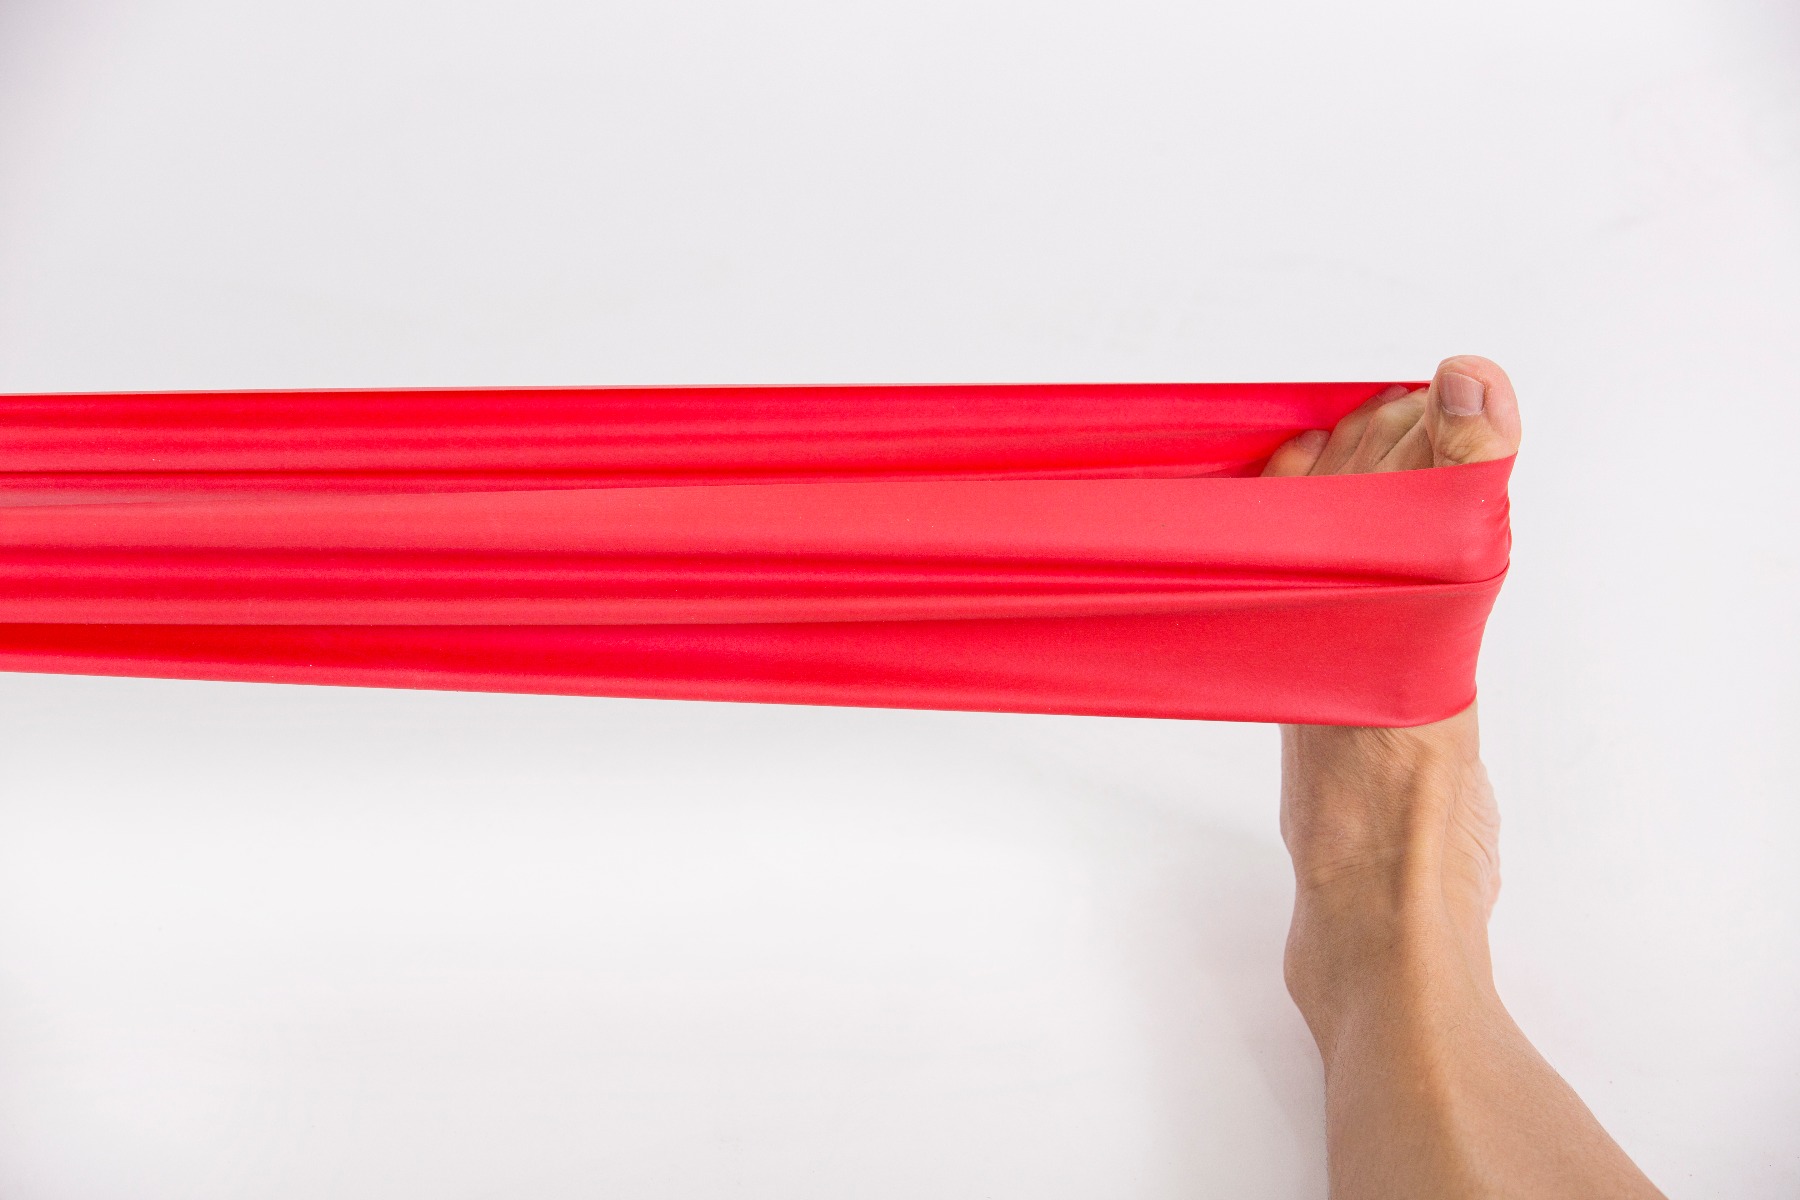
TheraBand Ankle Dorsiflexion
- Sit on the floor with both of your knees extended
- Make a loop with the band and securely attach one end of the loop near the floor
- Place the foot with the injured ankle inside the loop
- Pull your ankle toward your head against the resistance of the tubing
- Hold and slowly return back to a neutral position
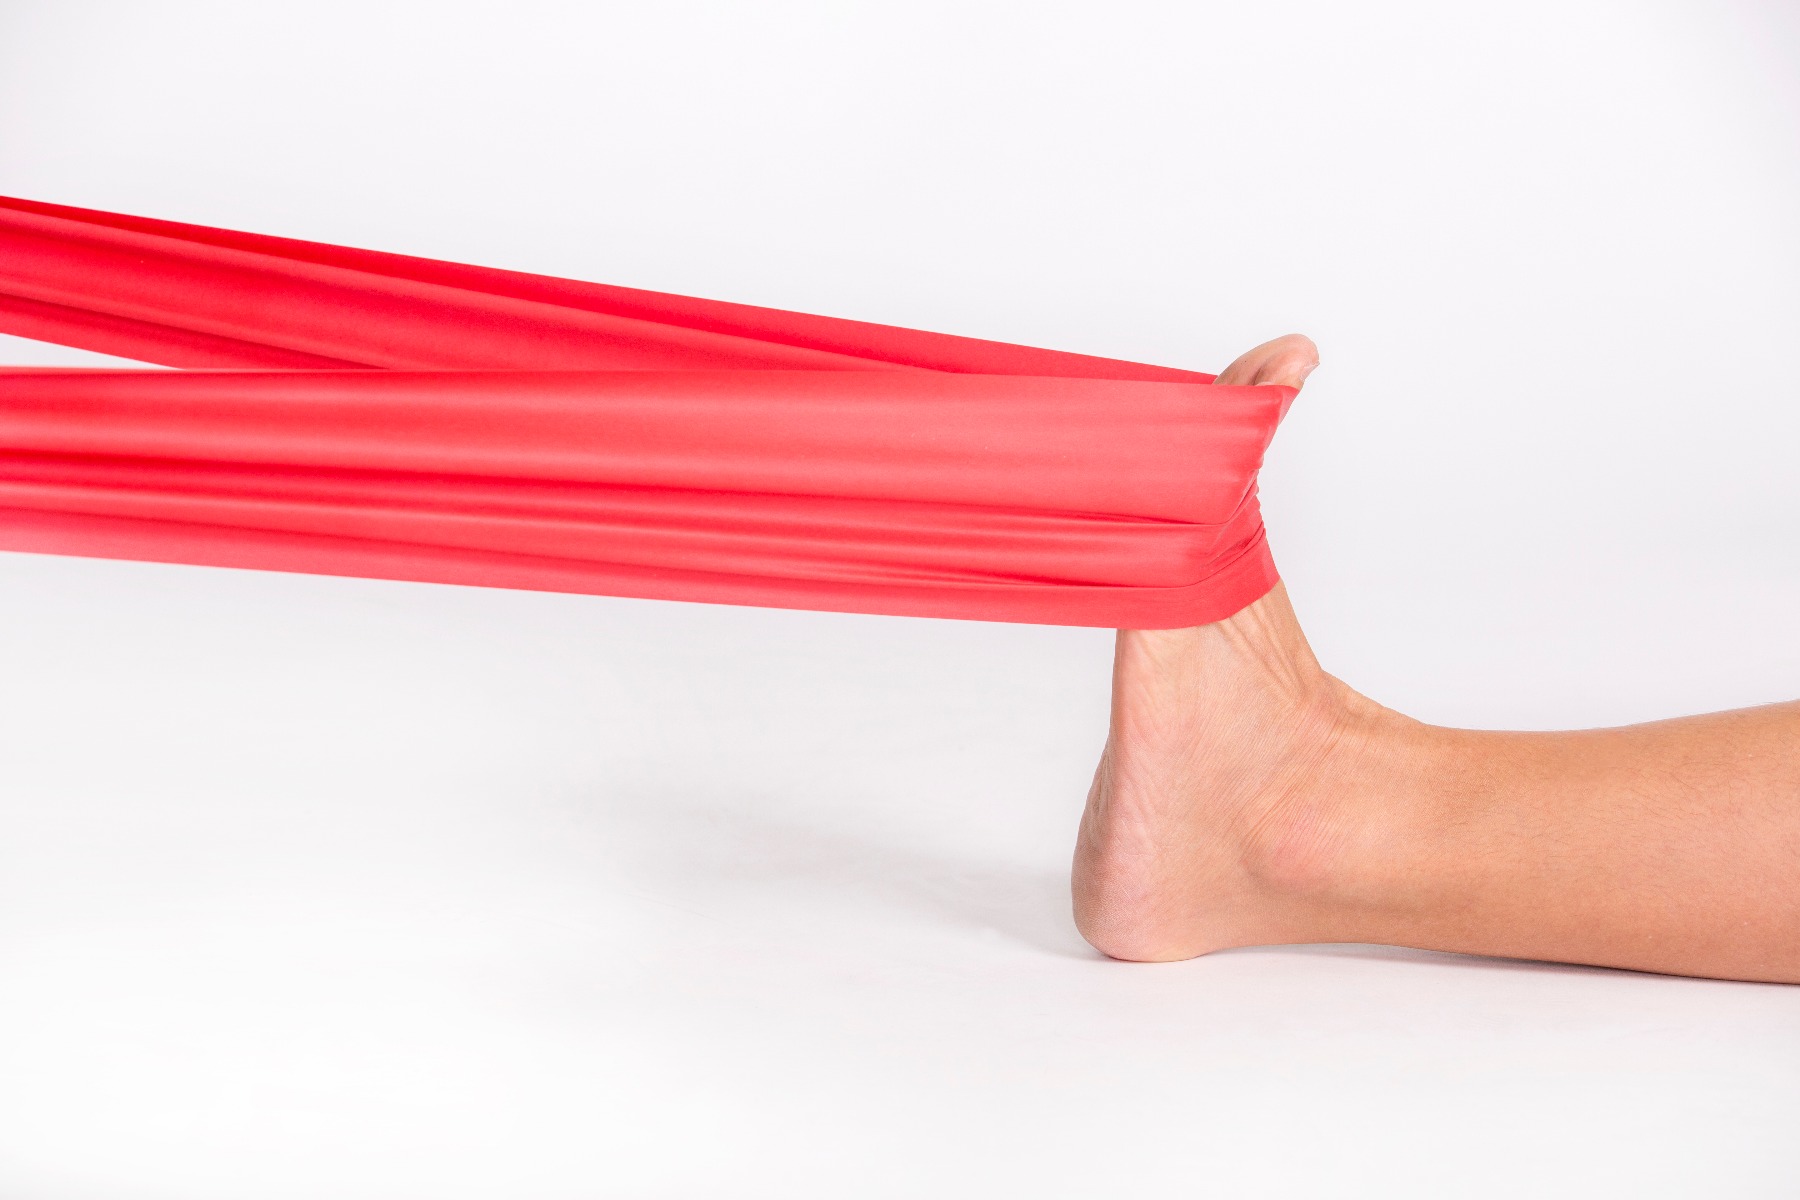
TheraBand Ankle Plantarflexion
- Sit on the floor with both of your knees extended
- Loop the middle of the band around one foot and grasp the ends of the band
- Push the foot down against the resistance of the band
- Hold and slowly return back to a neutral position
TheraBand Ankle Inversion
- Sit on the floor with both of your knees extended
- Make a loop with the band and securely attach one end of the loop near the floor
- Place the foot with the injured ankle inside the loop
- Pull your ankle inward against the resistance of the band
- Hold and slowly return back to a neutral position
TheraBand Ankle Eversion
- Sit on the floor with both of your knees extended
- Make a loop with the band and securely attach one end of the loop near the floor
- Place the foot with the injured ankle inside the loop
- Push your ankle outward against the resistance of the band
- Hold and slowly return back to a neutral position
References
Briner, W William. (2013). What To Do After An Ankle Sprain. USA Volleyball. Retrieved from https://bit.ly/34dfkie.
Gallo, Robert. Volleyball Injuries. Sports Medicine Program - University of Rochester Medical Center. Retrieved from https://bit.ly/36walex.
Hecht, Marjorie. (2019). 12 Exercises to Improve Ankle Mobility. Healthline. Retrieved from https://bit.ly/34jSUMu.
Robinson, Jennifer. (2017). MOVE An Injury Not RICE. The University of British Columbia: Faculty of Medicine. Retrieved from https://bit.ly/2r1LQFR.
Speraw, Dustin. (2018). SSI Tips: Preventing Ankle Injuries in Volleyball. Sport Safety International. Retrieved from https://bit.ly/334fXdV.
Tien, Audris. (2018). Management of Acute Ankle Sprains: To Immobilize or Not? LER: Lower Extremity Review.
Retrieved by
https://bit.ly/2MkSu1V.
Medical Disclaimer: The information provided on this site, including text, graphics, images and other material, are for informational purposes only and are not intended to substitute for professional medical advice, diagnosis or treatment. Always seek the advice of your physician or other healthcare professional with any questions or concerns you may have regarding your condition.